Creating a Driveway Drain
One of the first things we noticed when we bought the farm was the drainage issue around the barn. Water flooded in and pooled right inside the main entrance, and remained stagnant underneath our seating area.
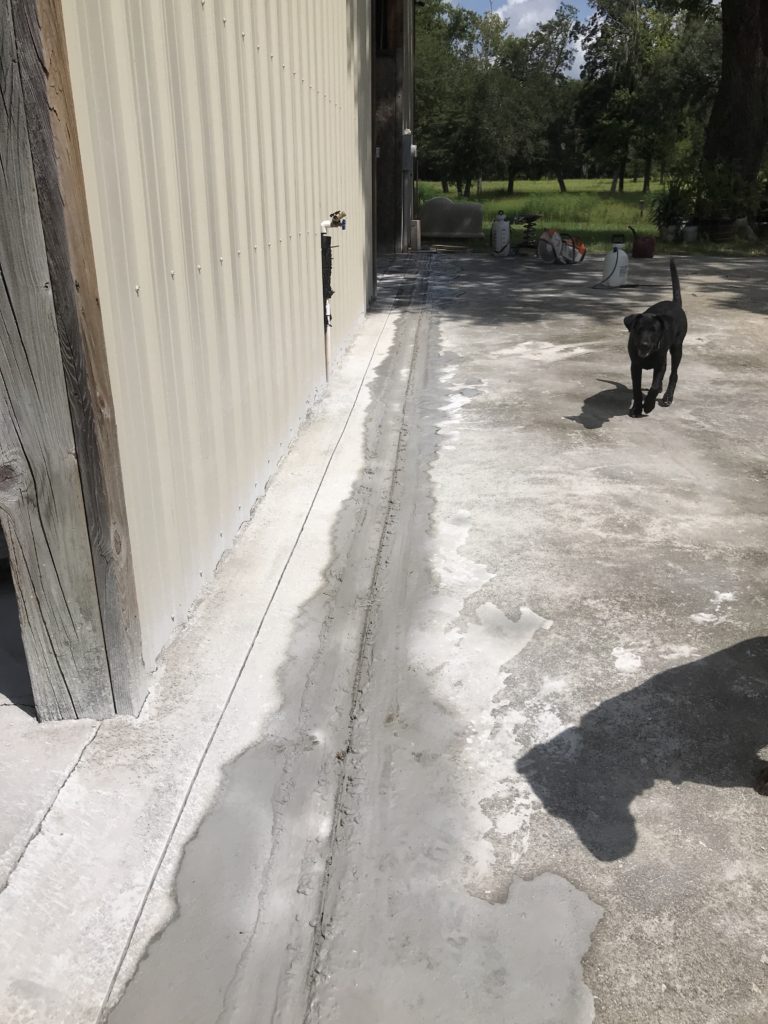
Over the last week, we created a drain in the low lying area. We still need to add gutters to the front of the barn to alleviate the flooding from the front side.
Before:
This video shows the barn during an active rainstorm. Ignore the dogs at the end, as I did not take this video for the purpose of this blog post. 🙂
Creating a Drain:
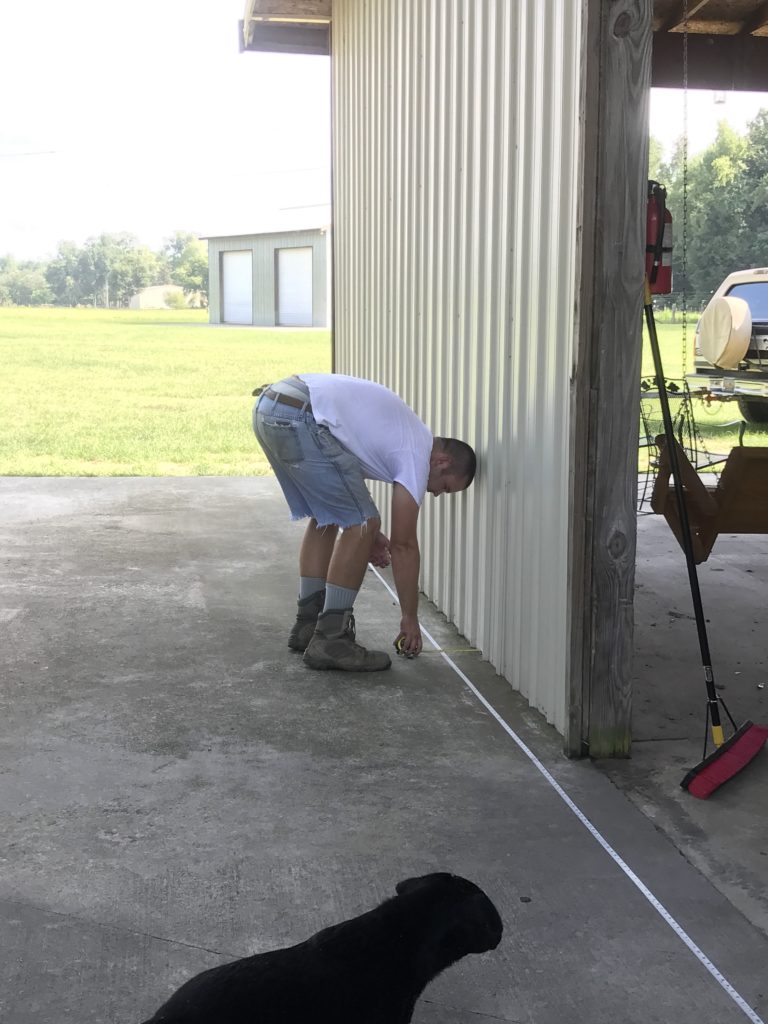
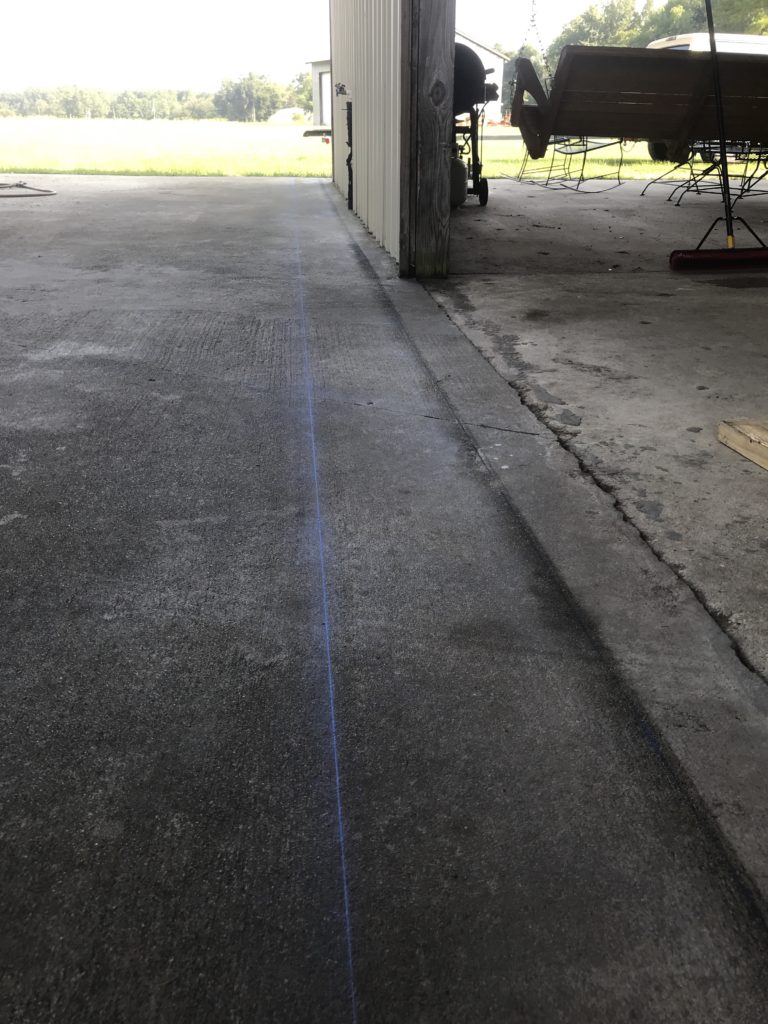
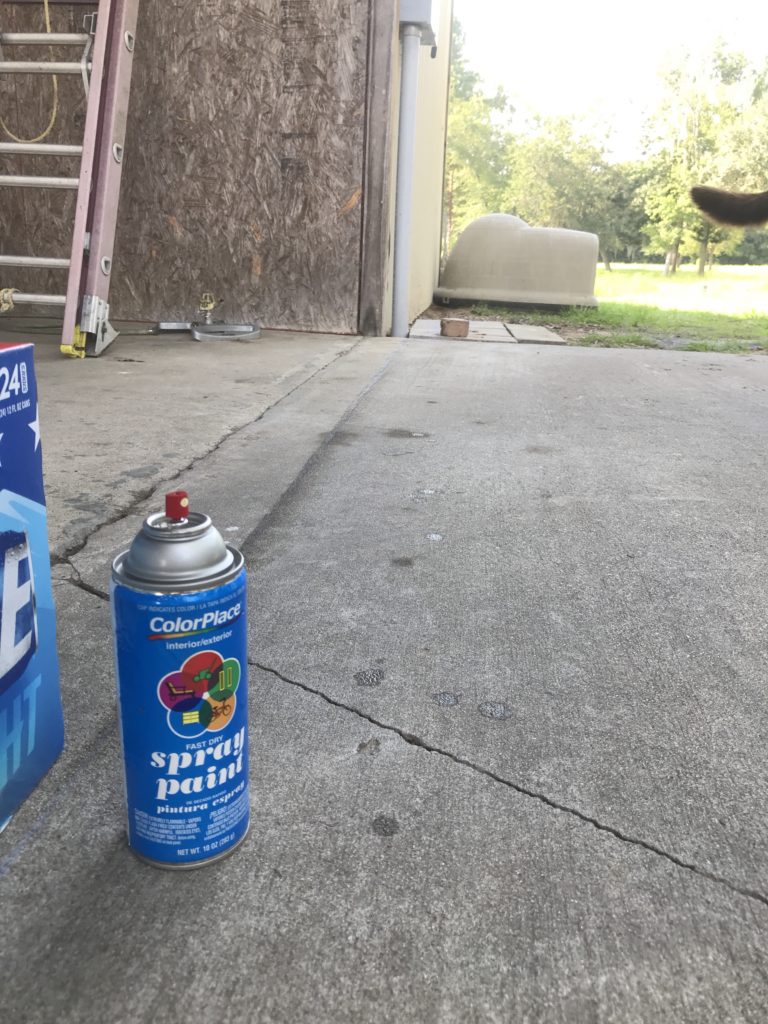
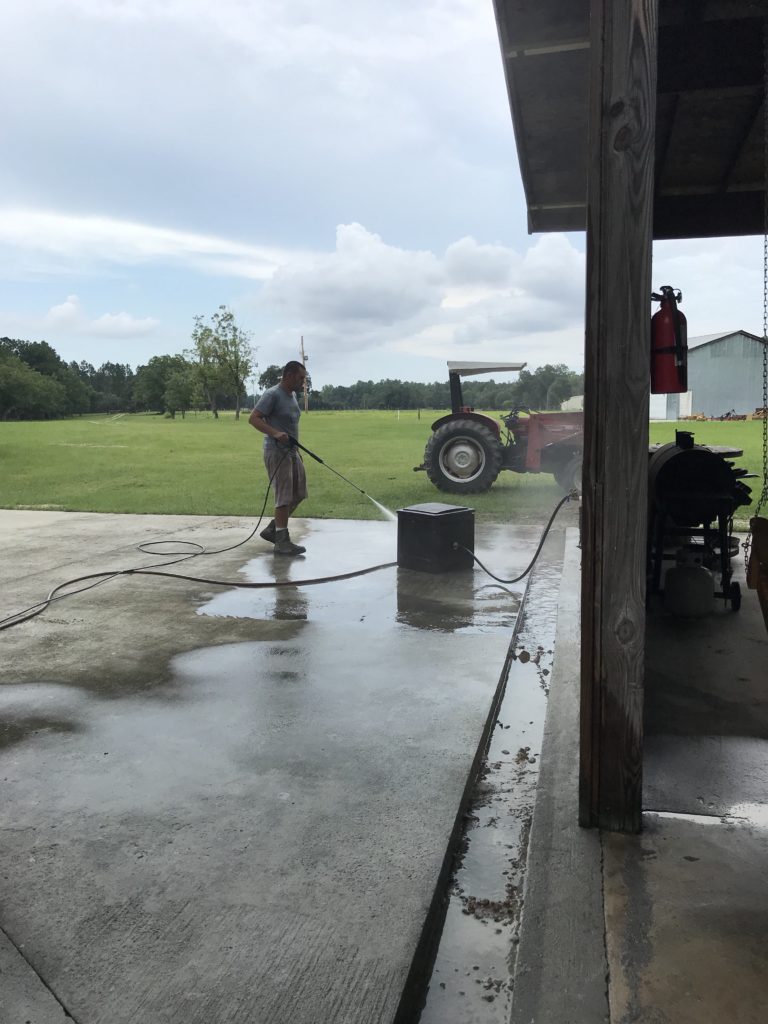
1. First, Evan cleaned off the drive leading into the barn. He needed a dry surface in order to mark the chalk lines for the cut areas. Luckily, our neighbor has a concrete business, and he brought over his concrete saw and helped Evan make the cuts. To start, Evan marked two chalk lines. He did have to redraw the first one as it was too close to the barn and the saw couldn’t fit. After marking with chalk, he went back over with clear spray paint to keep the chalk line from washing away.
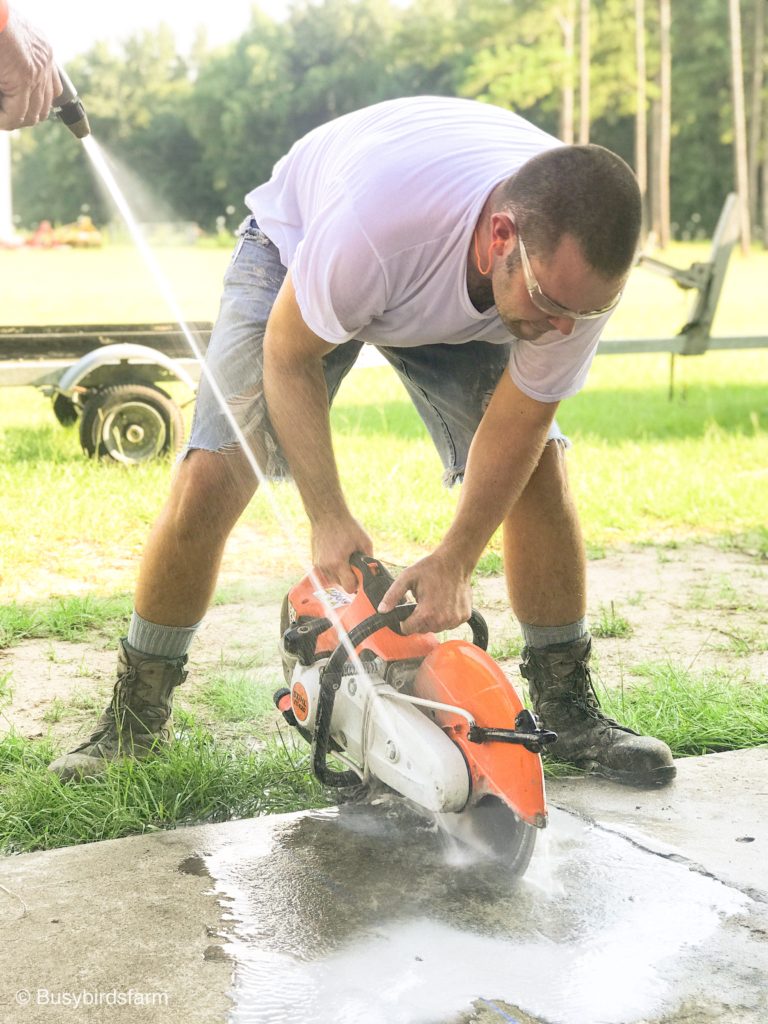
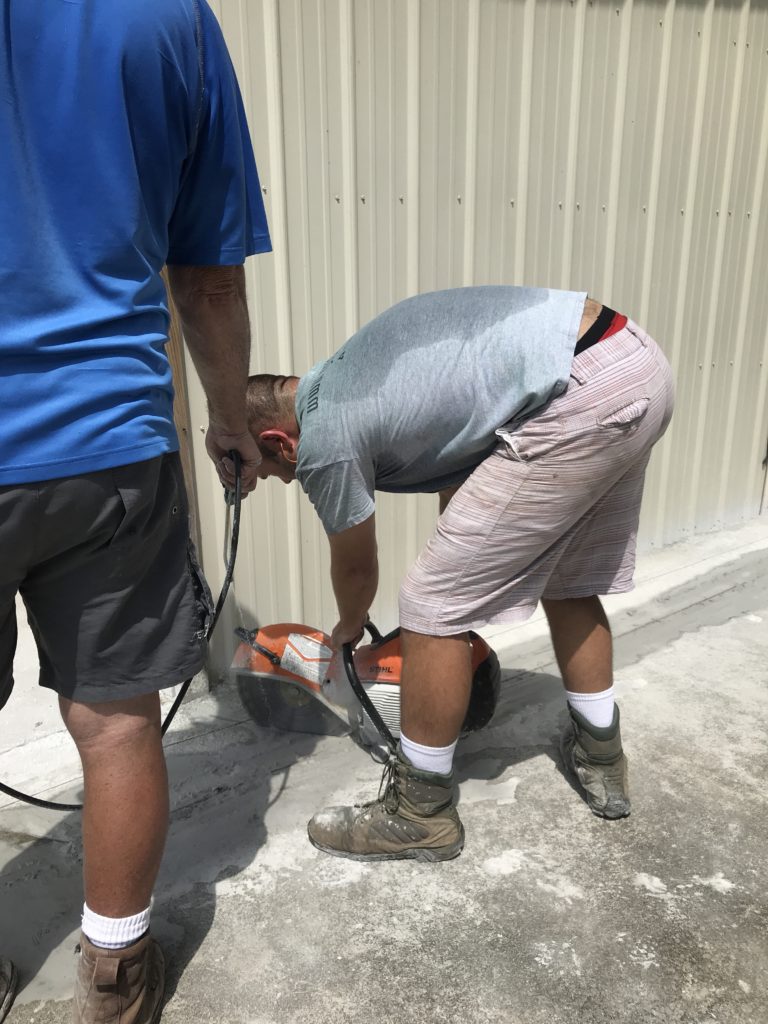
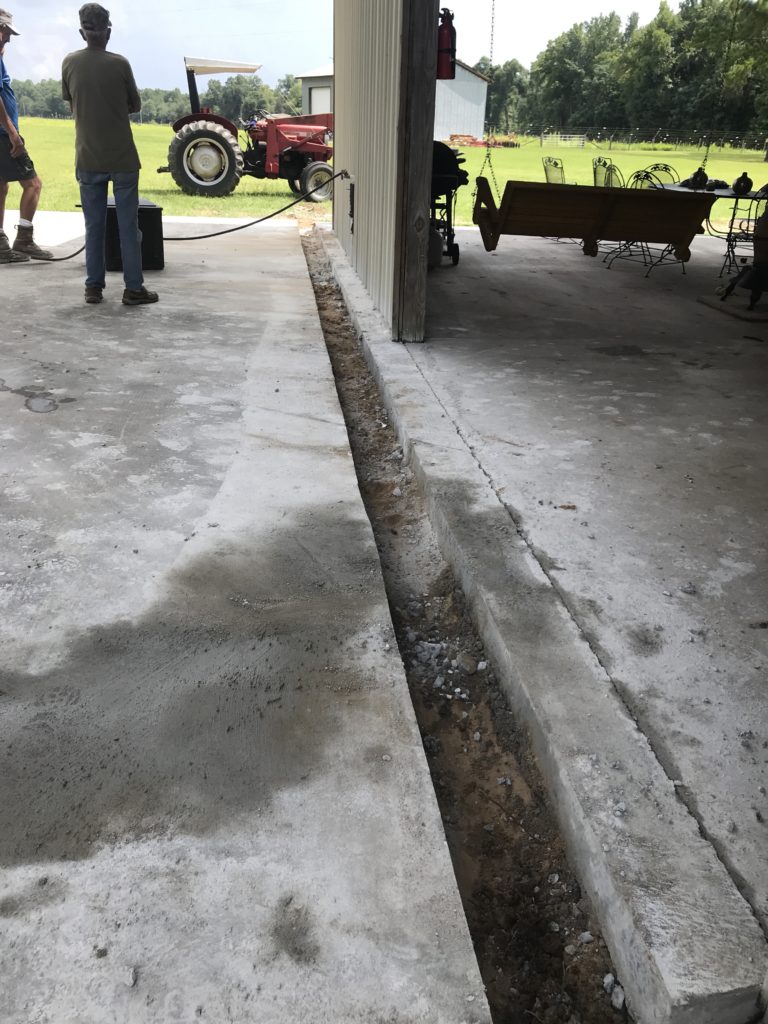
2. Cutting the Concrete: Evan and our neighbor used the concrete saw to cut two lines the full length of the concrete pad. This was slow and tedious, but we are grateful we were able to use his saw for this part of the process.
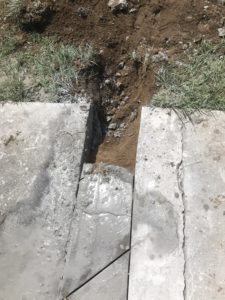
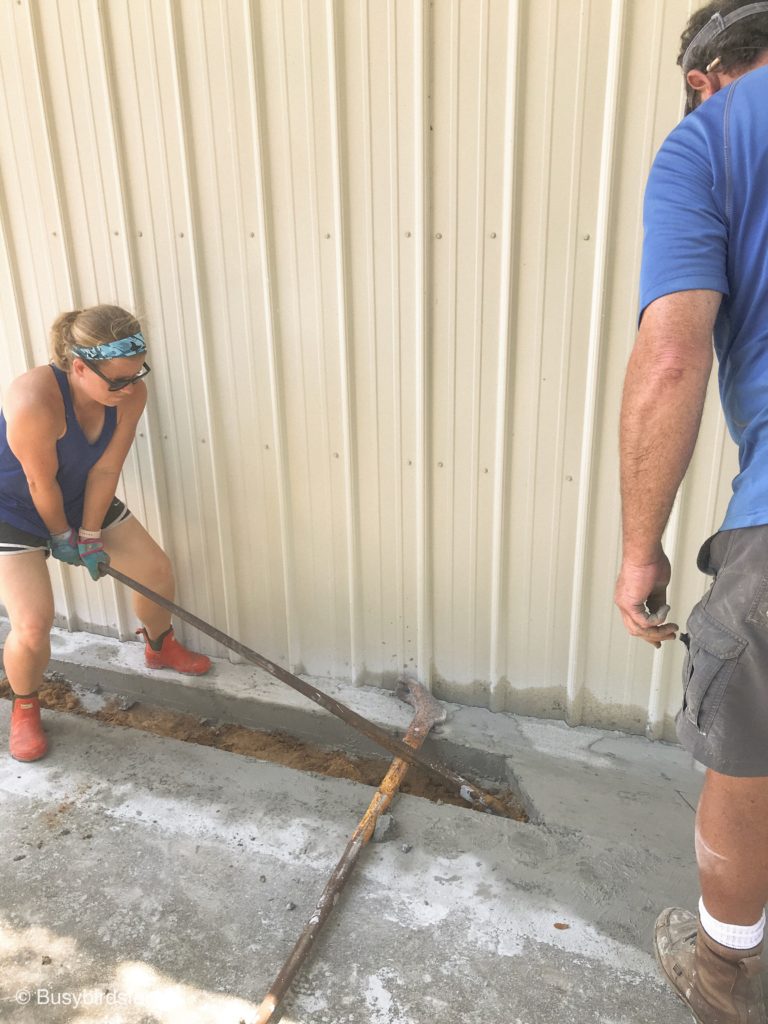
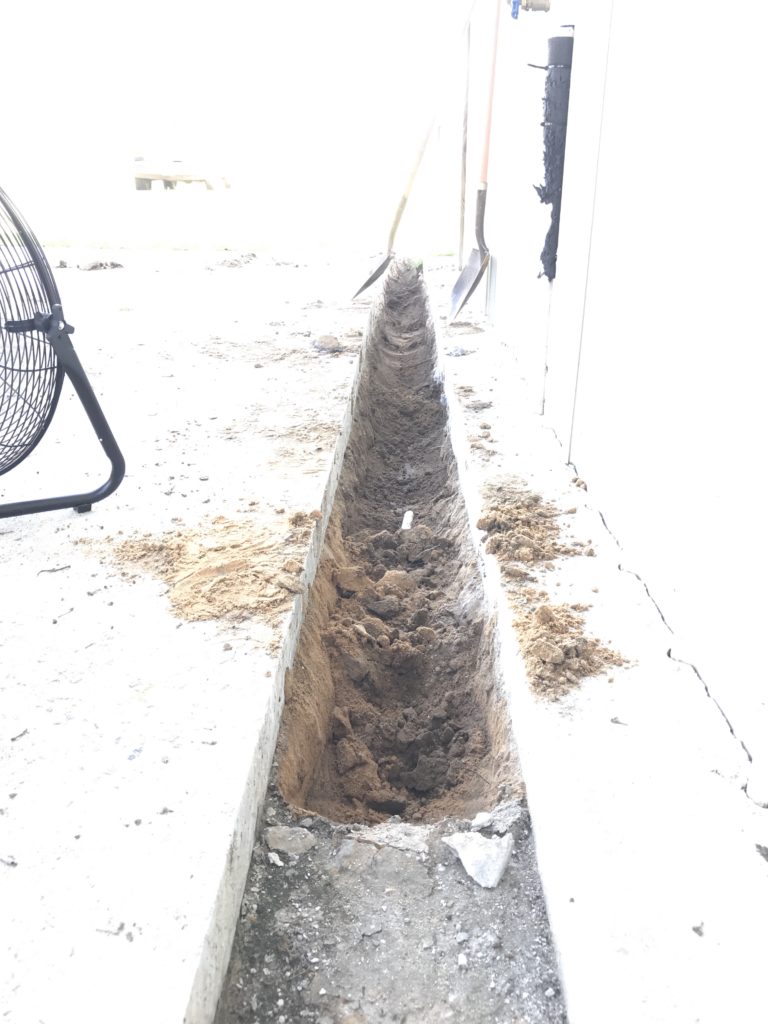
3. Removing the Concrete: I think this was the most labor intensive part of the process. Evan cut cross pieces with the saw about every foot to aide in breaking the concrete. He used a fork on the front of the tractor to break away the first piece of concrete. From there, we used a pry bar and our hands to chip away and break off all of the concrete in the drain area.
What We Learned:
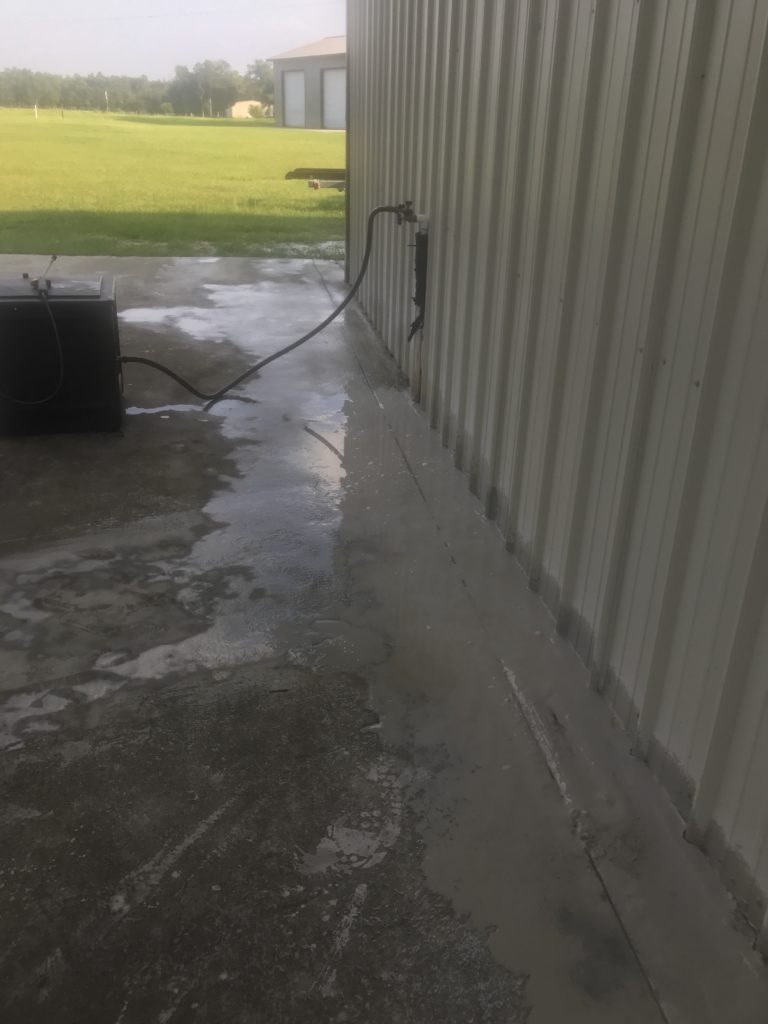
The cutting of the concrete actually took 2 days. Even though Evan covered his chalk lines in the clear spray paint, some of the paint washed away after cutting the first line. We went back the next day to cut the second line and remove all of the concrete. They used the water hose to wet the ground to begin with; however, this created too much standing water in the low spots. Evan finished with a small pump sprayer to lessen the amount of water staying on the ground. Concrete saws are made to run wet, but our neighbor did not have his set up to hook water directly to the saw itself.
Creating a Drain:
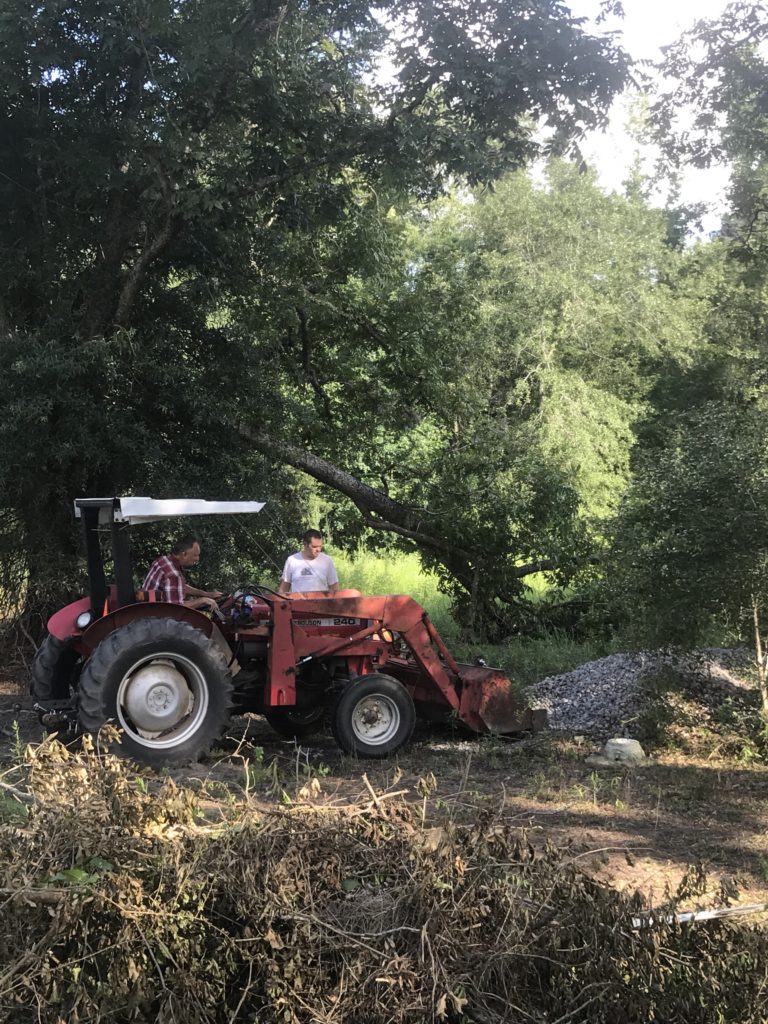
- Getting some Rocks: We were super lucky as our neighbor happened to have a pile of rocks in his back yard. We drove the tractor to his house and loaded a pile of rocks onto our trailer.
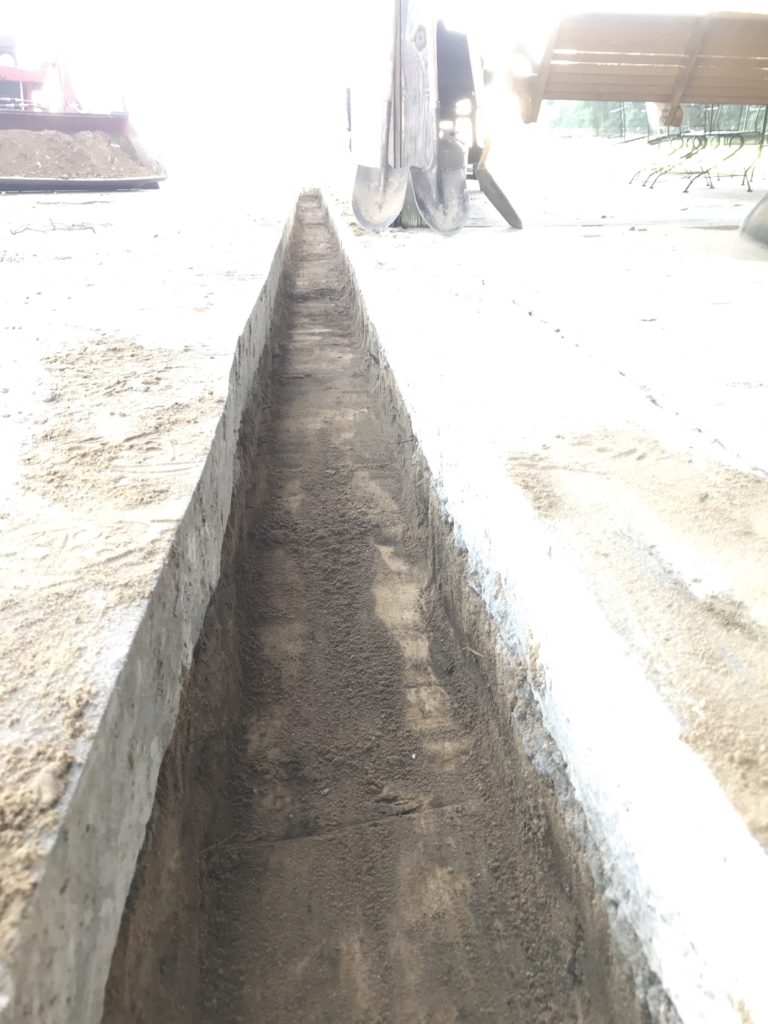
2. Next, we dug down 12 inches into our hole to create the base for the drain.
After we evened out all of the dirt in the hole.
3. After digging down 12 inches, we placed a sediment filter along the bottom and sides of the hole. I unfortunately missed a couple of pictures when the dogs found a cottonmouth snake in the yard!
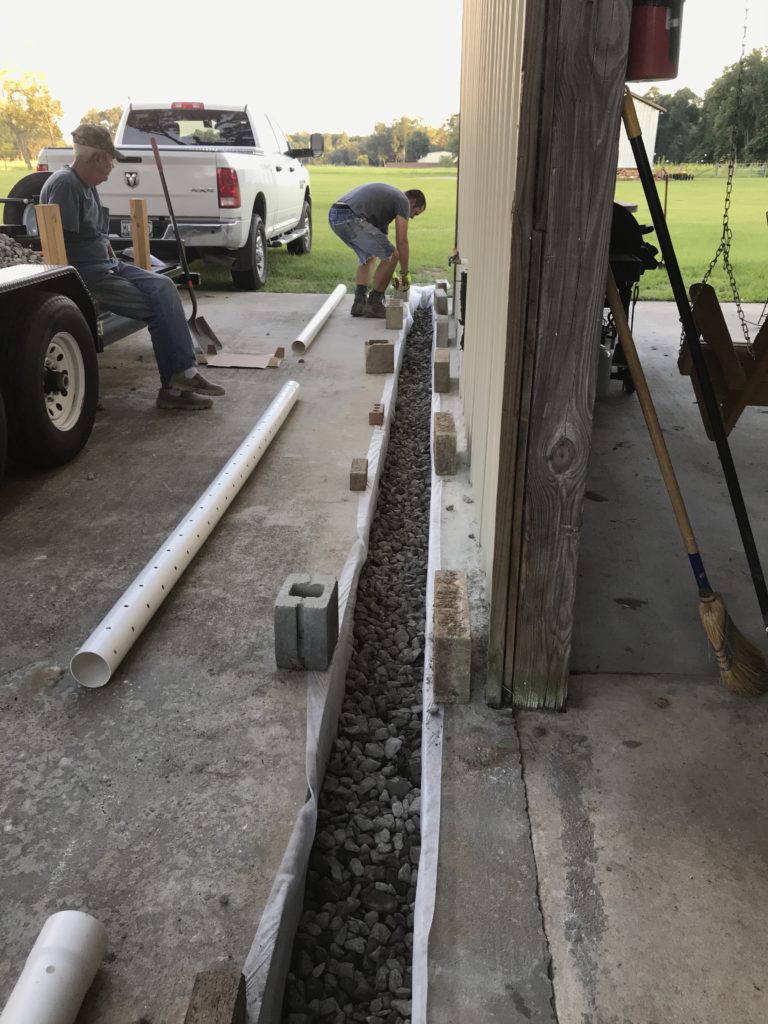
4. We added a layer of rocks on top of the sediment filter to hold it in place.
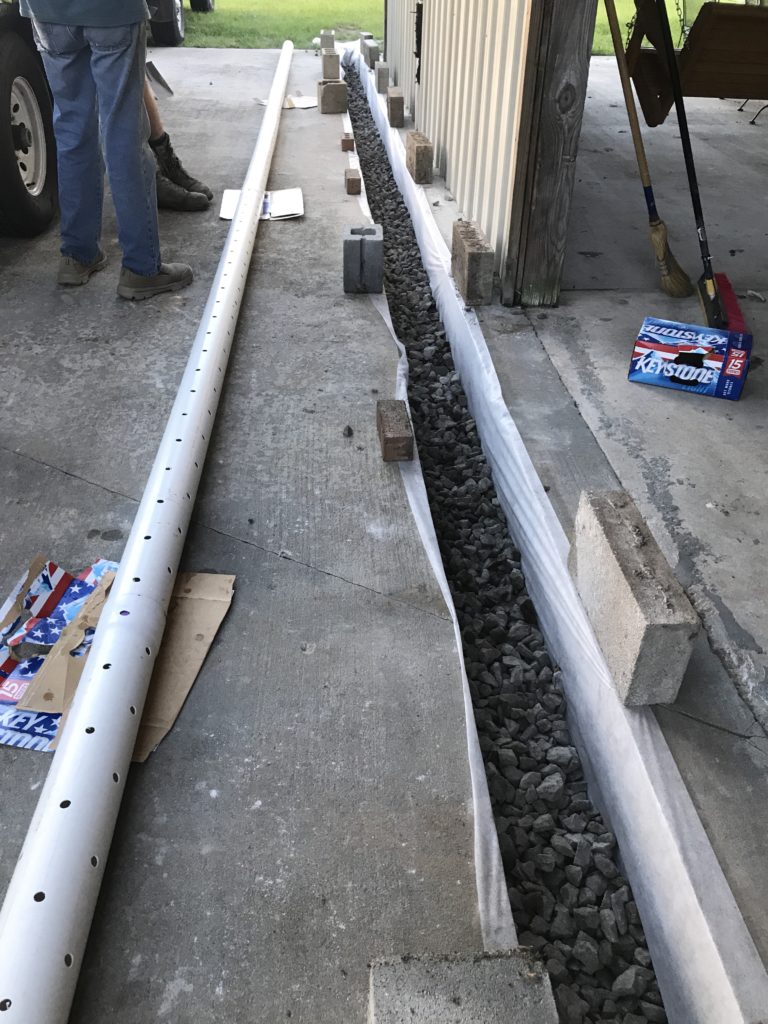
5. Next, Evan glued all of the drain pipe pieces together.
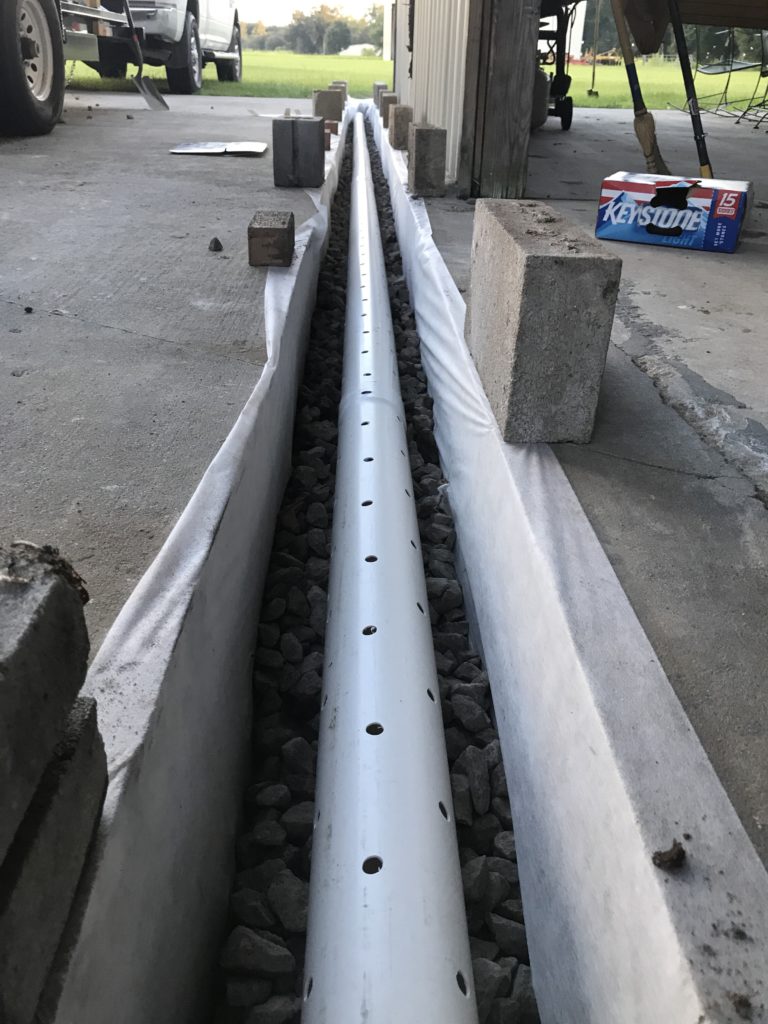
7. Then, all of the pipe went into the hole.
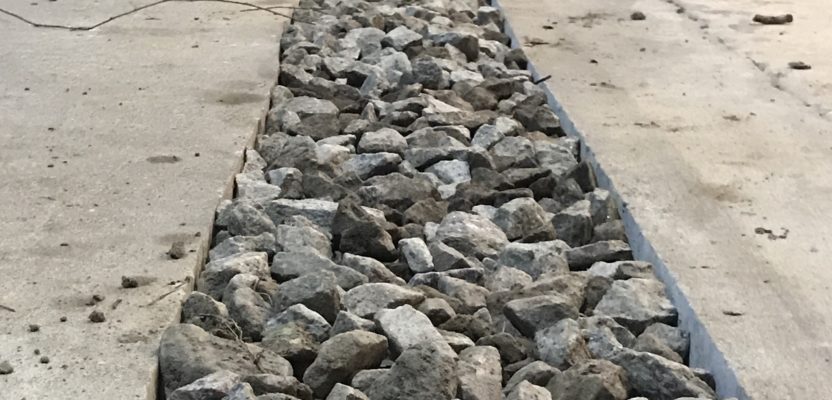
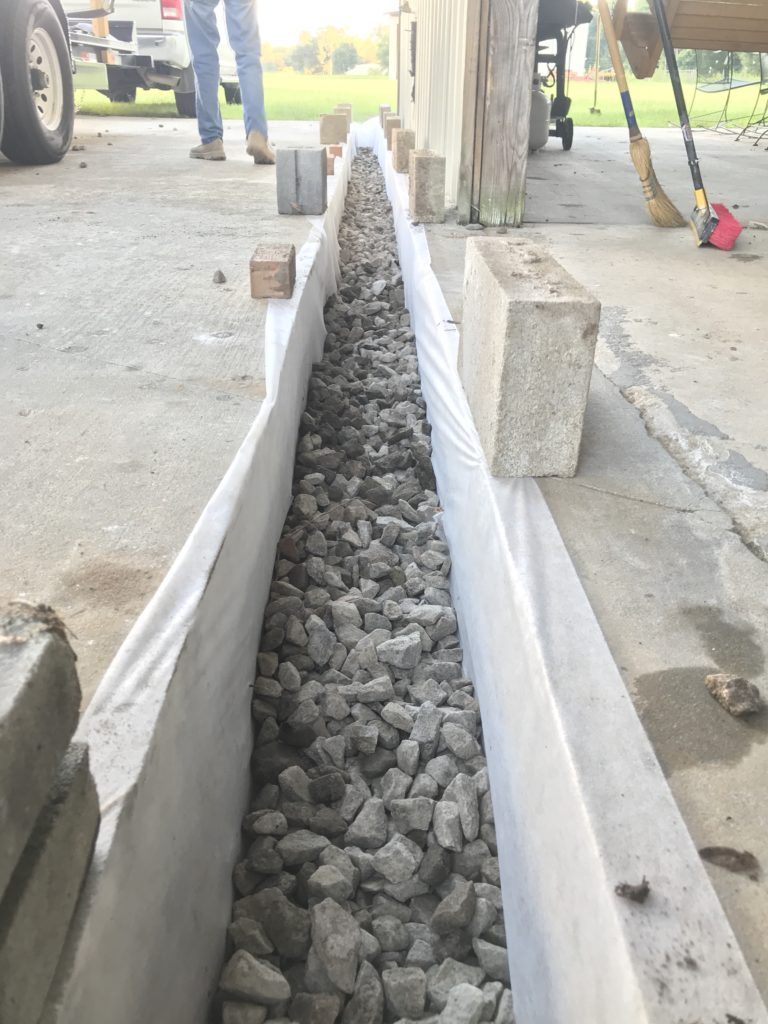
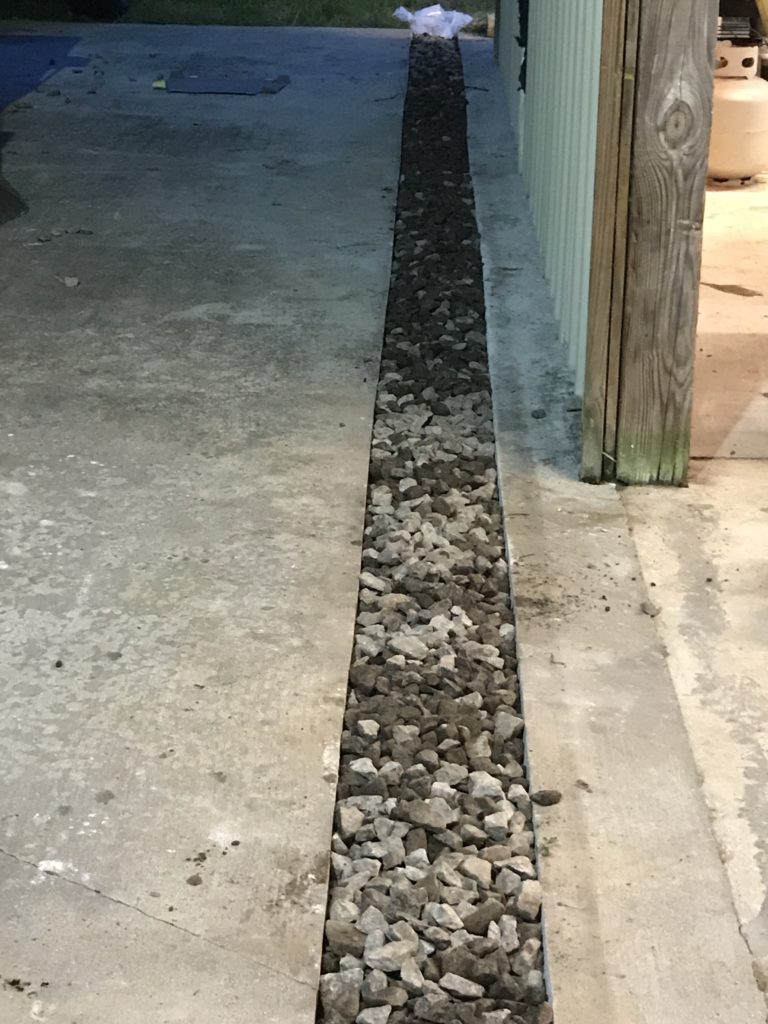
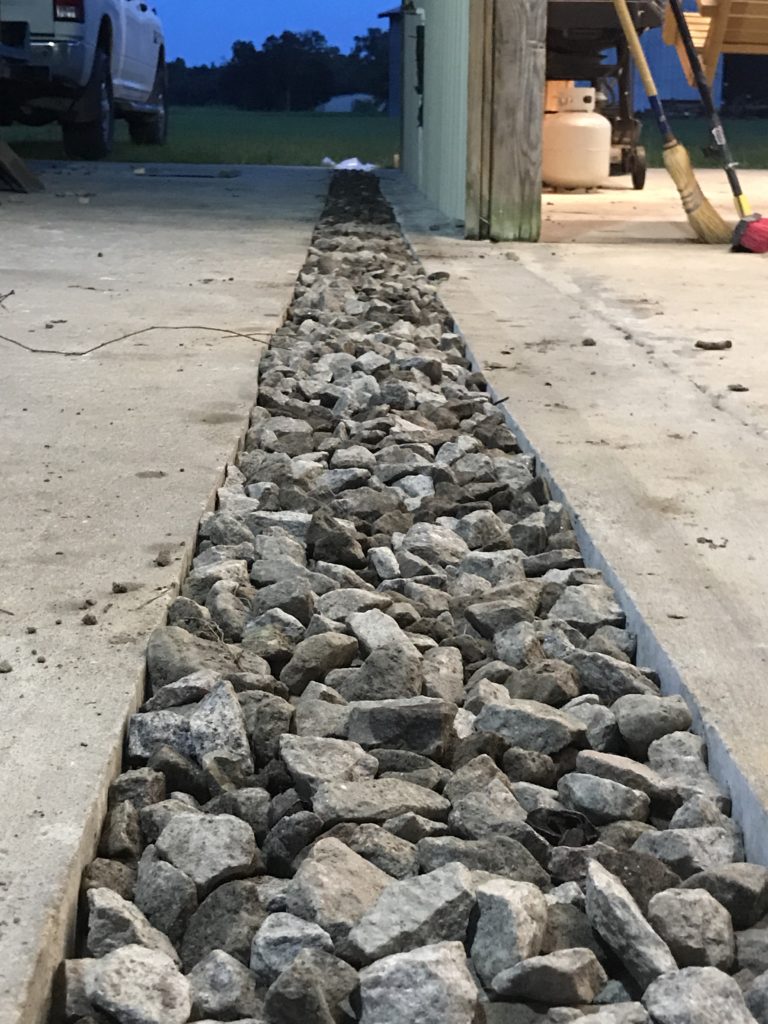
8. Once the pipe was in, we filled in the rest of the hole with rocks.
And voila, a new drain! We’ve had several rain storms since installing the drain, and it handled the water well. As I mentioned in the beginning, we still need to add gutters to the front of the barn to catch the overflow from the roof. Unfortunately, as this is an open barn on almost 3 sides, when we get rain accompanied with blowing wind we still get rain water in the barn. Once we completely finish with the barn, I will update y’all here on the blog!
Happy Reading
Ali and Evan




 My name is Ali and I'm learning how to be a country girl! I'm a physical therapist, wife, lover of running and reading and I love to travel!