Removing Popcorn Ceilings
How I removed our PopCorn Ceilings
We have popcorn ceilings throughout the entire house. Previously, the ceiling leaked and caused water damage to the ceilings in the front three rooms. I wanted to remove the popcorn and scrape them down to try and reduce the amount of water damage you could see. First, I practiced on our frog as this is the least visible room in the house.
I researched online for proper methods of popcorn removal. See links below:
- family handy man
- This Old House (pros and cons of pre wetting the ceiling)
- Today’s Homeowner
- DIY Network
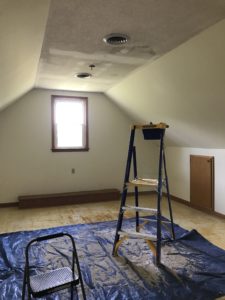
This is a picture of the frog before we bought the house. I thought this would be an easy room to start with as it was only a small strip of popcorn!
Steps to Removal Popcorn Ceiling
First, cover every surface! I made mistakes by not covering the window panes and the blinds downstairs. Also, remove anything extra off the ceiling such as fire alarms, light fixtures or air vents. Also, cover electrical outlets prior to spraying.
Second, I took a pump spray bottle full of water and sprayed the entire ceiling twice letting it soak for at least 15 -20 minutes in between. The ceilings scrape the best when fully soaked.
Third, Start scraping! I took a small scraper blade and ran it along the popcorn dropping it in small sheets. The parts of the ceiling that were damaged previously and patched required more water soaks. If the popcorn did not easily scrape off, I did not force it. I would re wet that area and come back to it after it soaked.
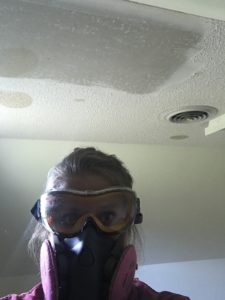
First, an example of hard to remove popcorn. Next, an example of easily removable ceiling.
The other hard part was going up and down and up and down the ladder. It is a lot of work and time consuming!
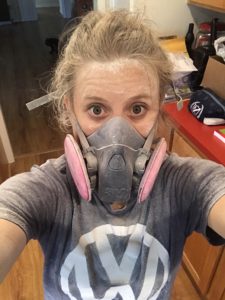
I also wore my respirator and goggles as the ceiling pieces flew everywhere! During my research, I found that ceilings built prior to the 1980’s could contain asbestos. Our house was built in 1980-1981, so I suited up to be on the safe side. Have your ceiling tested if you have any concerns!
Its a messy process!
Finally:
Just keep scraping until all the popcorn is gone! Every article I read stated how hard the clean up would be. As I went along, I thought “This is easy!” However, even with tarps taped down on the floors, pieces of the ceiling went everywhere! It stuck in the molding and all the cracks of the baseboards. Also, when I removed the tarps, pieces of ceiling floated all over the house. Set up is vital to make clean up as easy as possible.
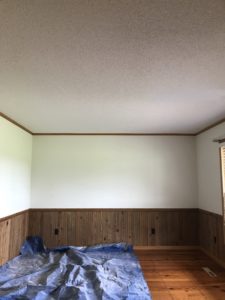
This is the Library downstairs prior to scraping.
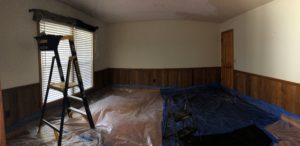 How I tarped the floors. If I did this again, I would cover the wainscoting with tarps as well.
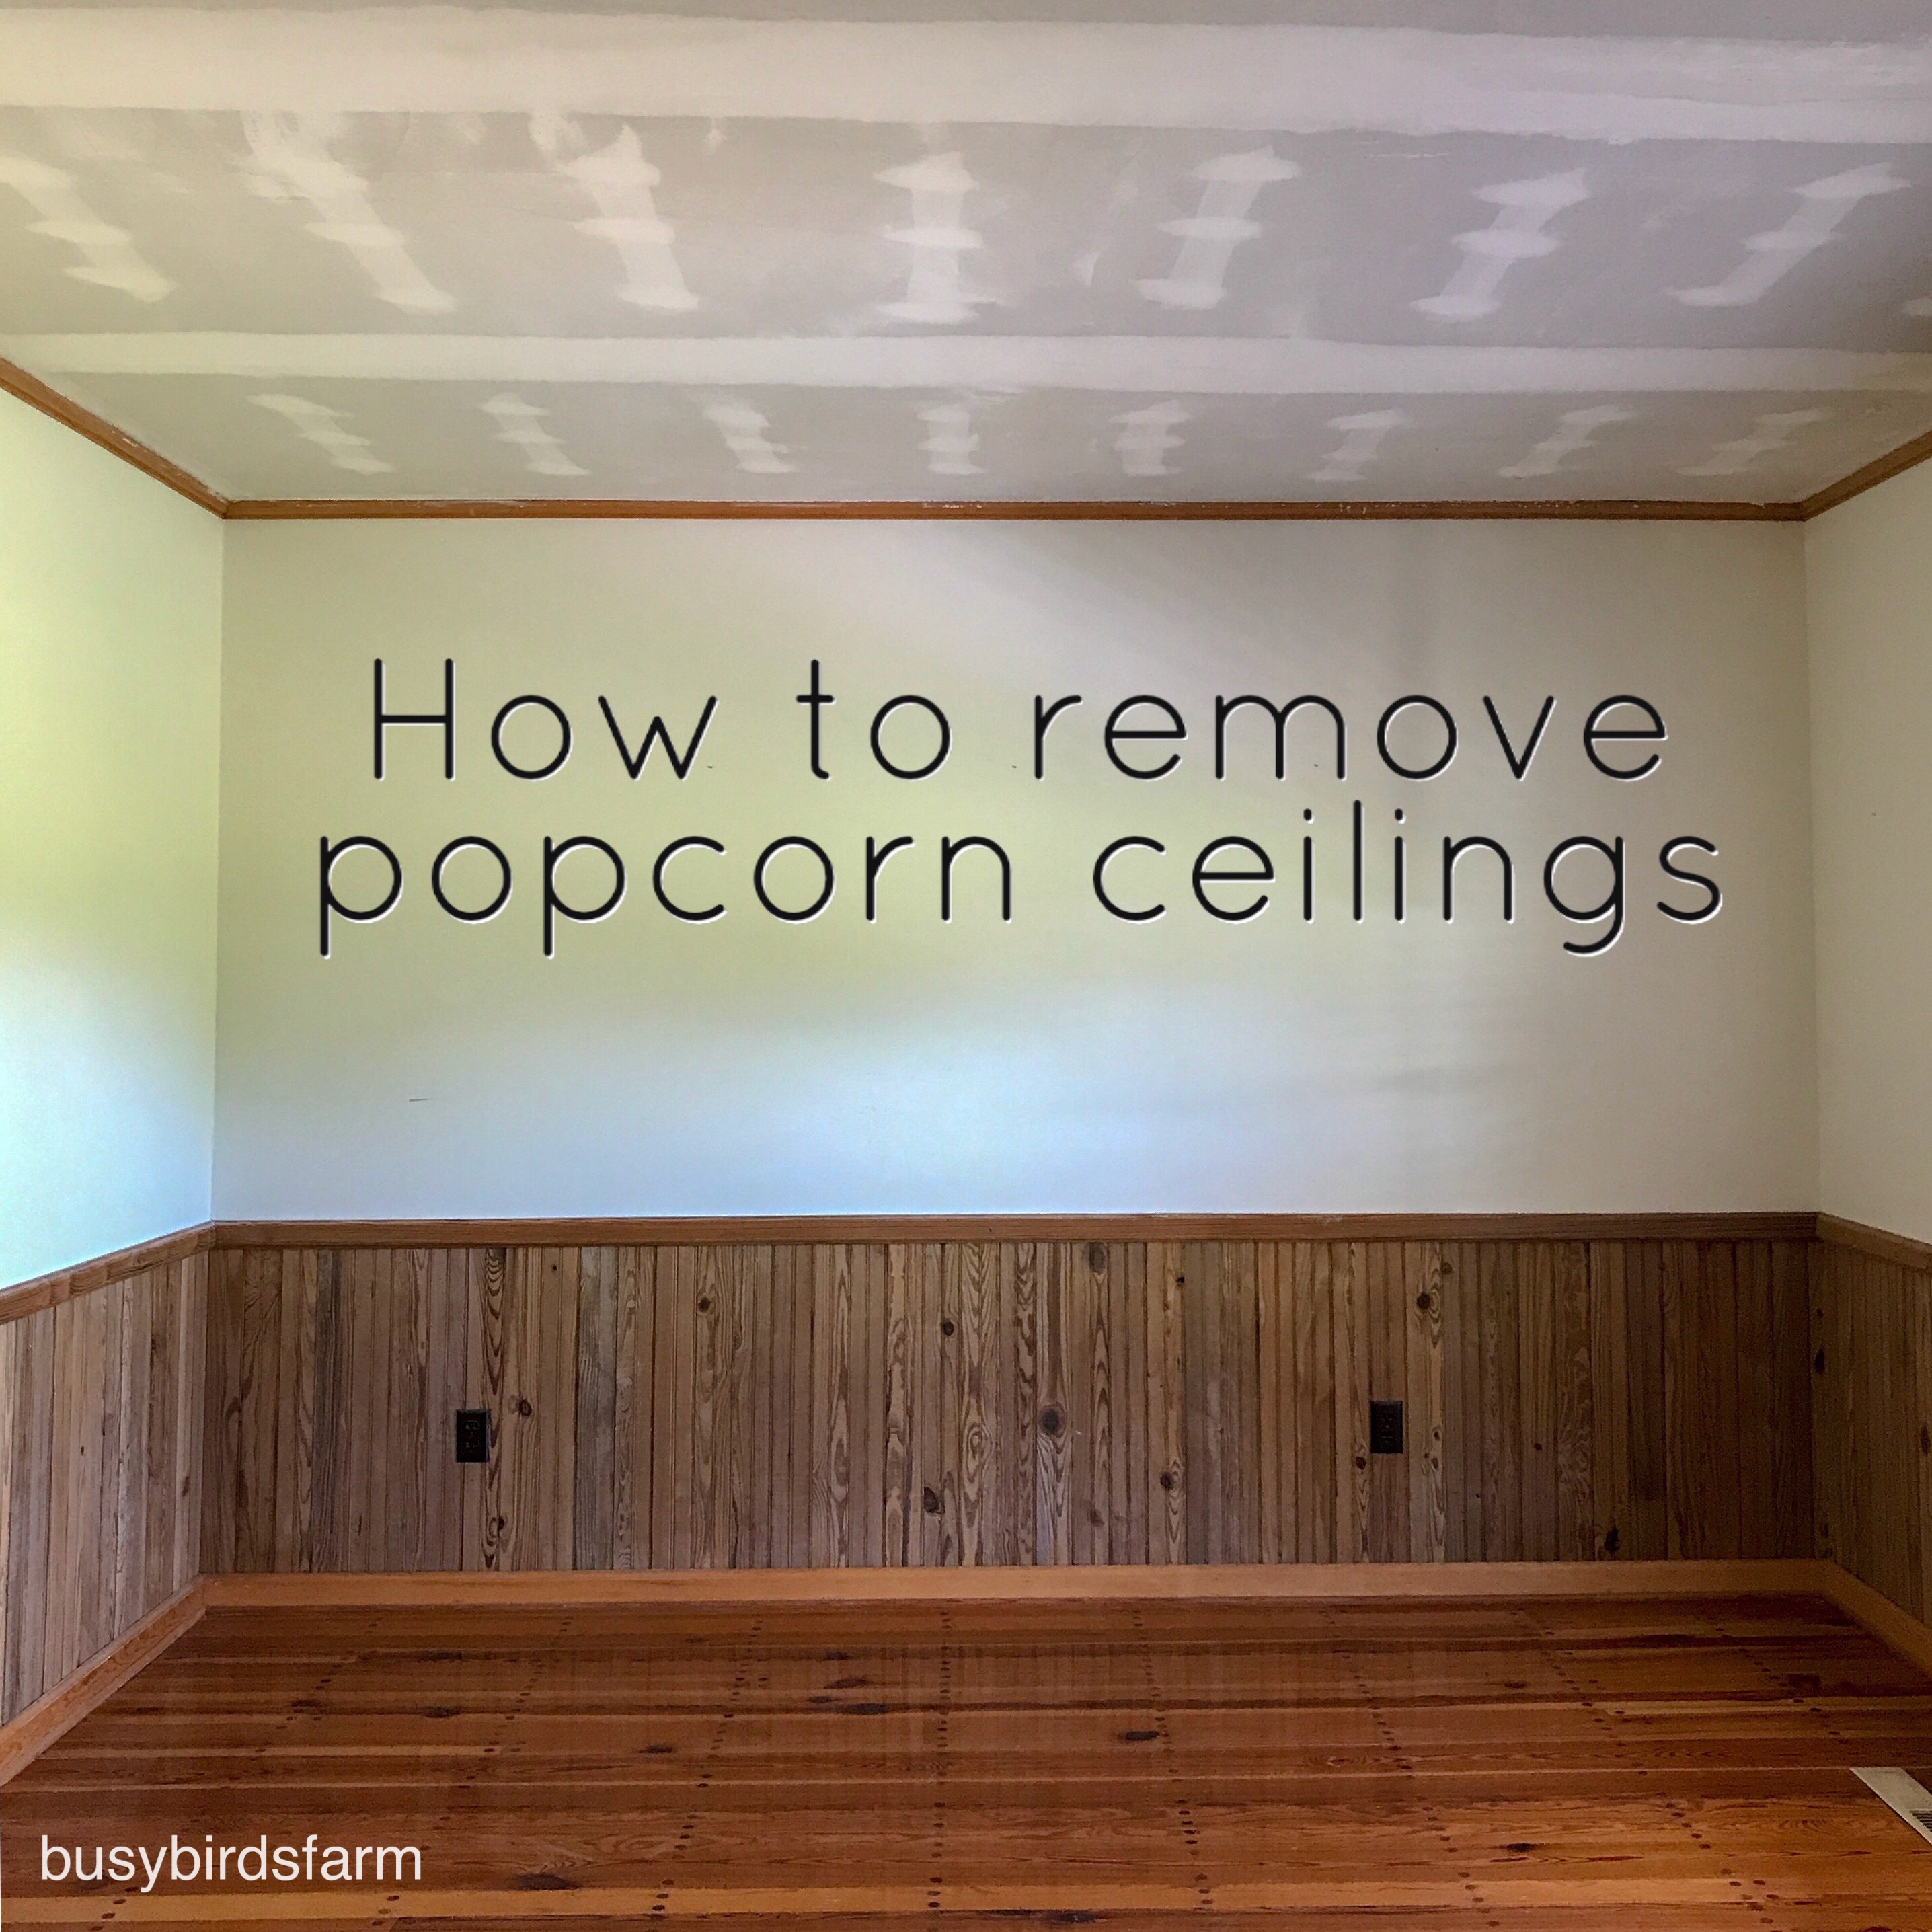
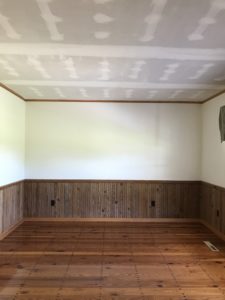
This is the library post scraping.
What I learned:
The actual scraping of the ceilings is the easy part! The prep and set up as well as the clean up are so much harder! Had I been scraping the entire house, I would think about ordering stilts to remove climbing up and down the ladder so many times. I would also make sure the entire area was completely covered. I saw many pictures of the bottom half of the walls covered in tarps, and I completely understand that now! After removing my tarps, I vacuumed all the floors and swept the walls and baseboards off. I also had to vacuum all of the cracks in the molding and headboard in the front rooms.
Stay tuned for the library and dining room transformation!
Disclaimer
I am not a professional, and this is only my personal experience!






 My name is Ali and I'm learning how to be a country girl! I'm a physical therapist, wife, lover of running and reading and I love to travel!