Building our Perimeter Fence
One of the best things about this blog is documenting our progress in updating and changing the farm. So, this post is not a how to build a fence, but more of a picture gallery of our fence building process.
Planning
Before even buying the farm, Evan started planning how to build a perimeter fence. We looked into different materials, cost and aesthetics of each kind of fence out there. Luckily, old power poles are free if you can haul them off yourself. Also, our friend owns a sawmill that can accommodate cutting the poles down. We decided to make the entire entrance part of the fence out of the old power poles, then use post and wire to continue down the front side of the property. For the side, we used T posts and wire.
Building
We broke the construction down into three parts. Last summer, we built the main entrance part of the fence with the gate. This February, we completed the main run down the front side of the property. Then, we added in the side fence later in the spring.
Step One: building the entrance fence
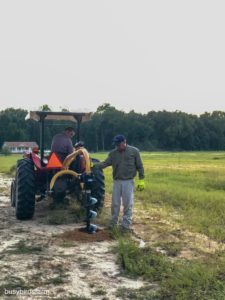
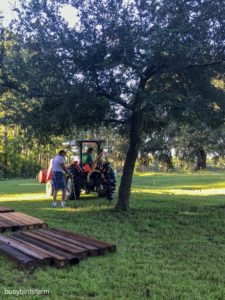
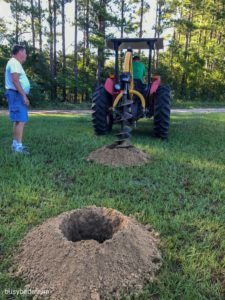
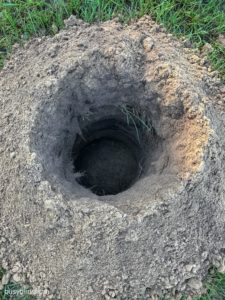
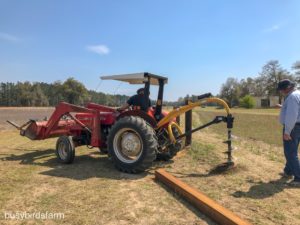
After measuring the post spacing, Evan used the tractor to dig the holes for the posts.
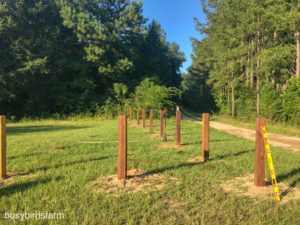
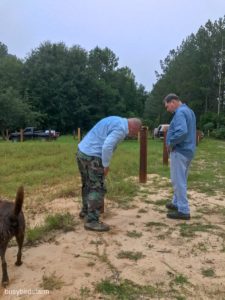
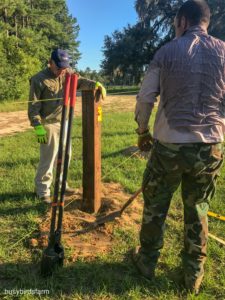
After we dug all the holes, we set all the posts. There was a lot of measuring and leveling involved to make sure each post was set exactly vertical and in line.
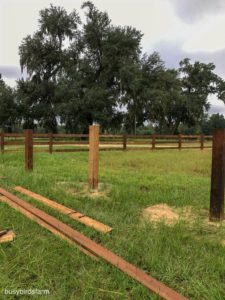
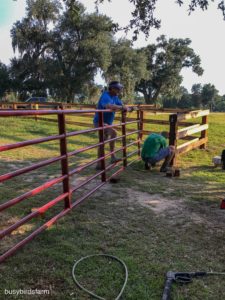
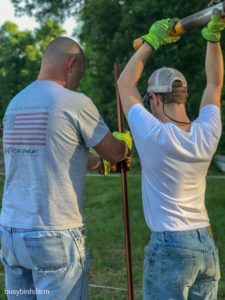
After we set all of the posts, we placed all of the horizontal boards. Of note, these poles have creosote in them which burns your skin. Thus the reason for long sleeves, pants and gloves in the summertime!
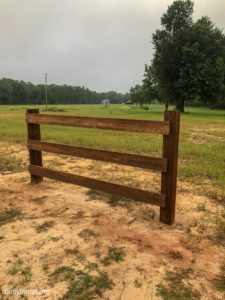 First horizontal boards in place!
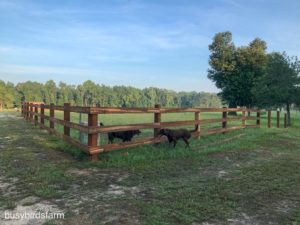
We continued in this fashion for the entirety of the entrance.
Adding a Gate
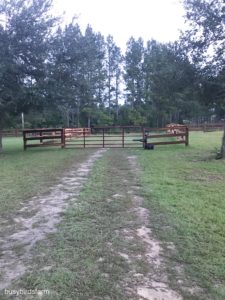
For security, we added a solar powered gate to the entrance. We placed a key code box on the inside and outside for access.
I didn’t get many pictures of this process since I was holding the other side of the gate!
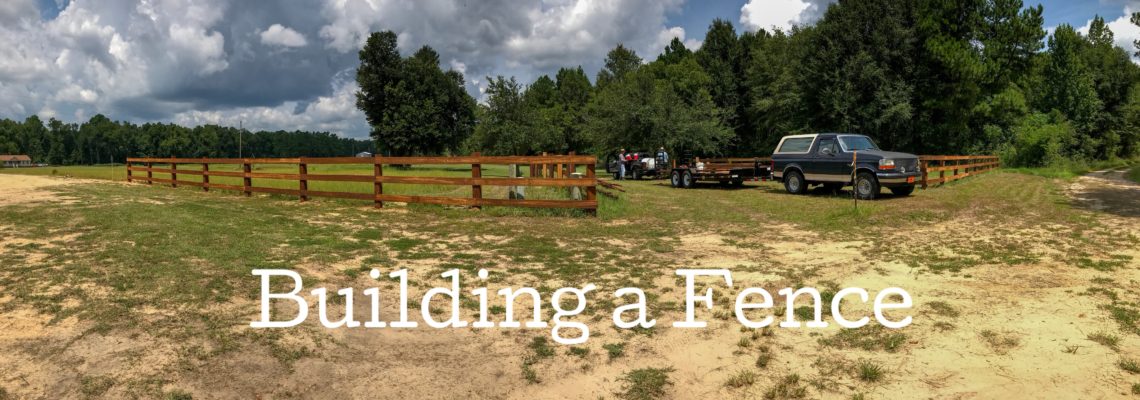
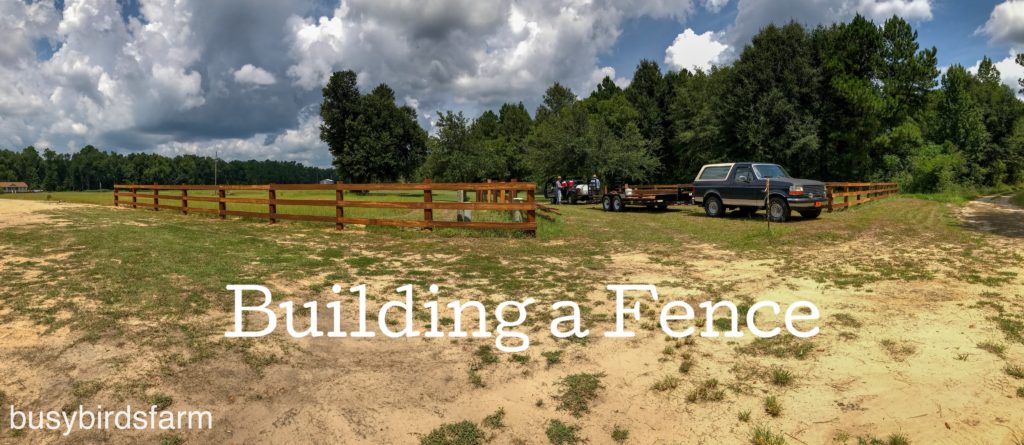
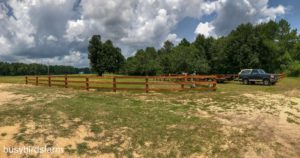
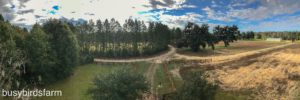 Aerial picture after we finished the front section.
Step Two: Building the front run
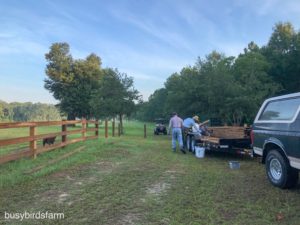
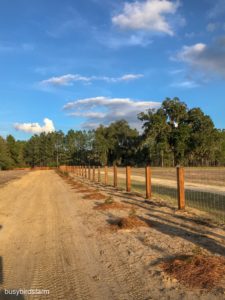
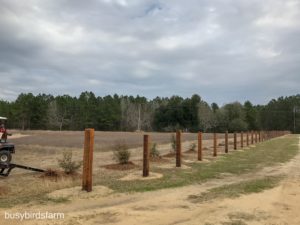
This February, we installed the fence along the front of the property. We completed this in one weekend by digging holes and setting the posts one day then stringing the wire along the next. I wasn’t there to document the whole process, but I did get a few pictures.
Then the after photos:
Step Three: Building the Side fence
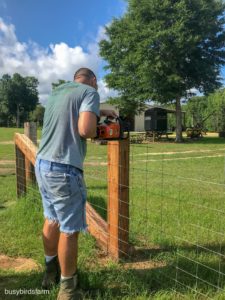
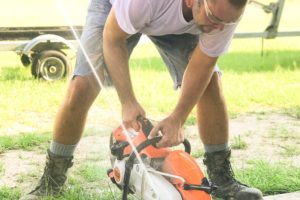
We used T posts and wire to complete the side fence. Evan and Jacob placed the T posts in two evenings, but adding the wooden support posts took several more days. Evan and his dad later came back to string the wire in place. To finish, Evan cut down the tops of the posts to make them all level.
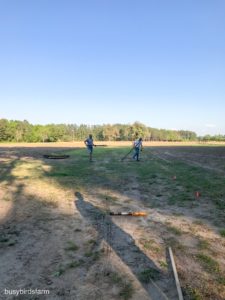
Driving T Posts
Measuring the line. I somehow managed to be out of town for the wire pulling days 🙂
Cutting the caps
Fence building is a laborious process. However, completing all the work ourselves saved a tremendous amount of money. One day, we will get back at it and fence in our back pasture for some livestock!

 My name is Ali and I'm learning how to be a country girl! I'm a physical therapist, wife, lover of running and reading and I love to travel!