DIY Home Mold Removal
Mold Busters
Mold Removal Day #1
Even though we are not set to close on the farm until the beginning of April, we Busy Birds have already put in our first weekend of hard work on the farm! Our first item to tackle: Mold Removal
The old house (circa 1981) has not been lived in since ~2005. Without the air circulating and tender love and care, mold grew in the basement and most of the upstairs walls.
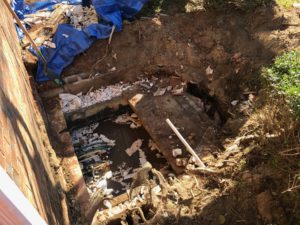
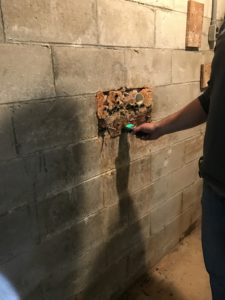
The Head Busy Bird and I spent last weekend as Mold Busters! We started with the basement. The original owners of the house used a Solar heat exchanger with an insulated below ground heat storage tank to heat the home. Over time, the unit stored water that leaked against the basement walls causing moisture build up and eventually an explosion of mold. The HBB and friends excavated outside of the basement to remove the unit and open it for improved water flow away from the house. We hope this removal as well as adding french drains outside eliminates the moisture issues in the basement.
The old GeoThermal Heating Unit and Excavation
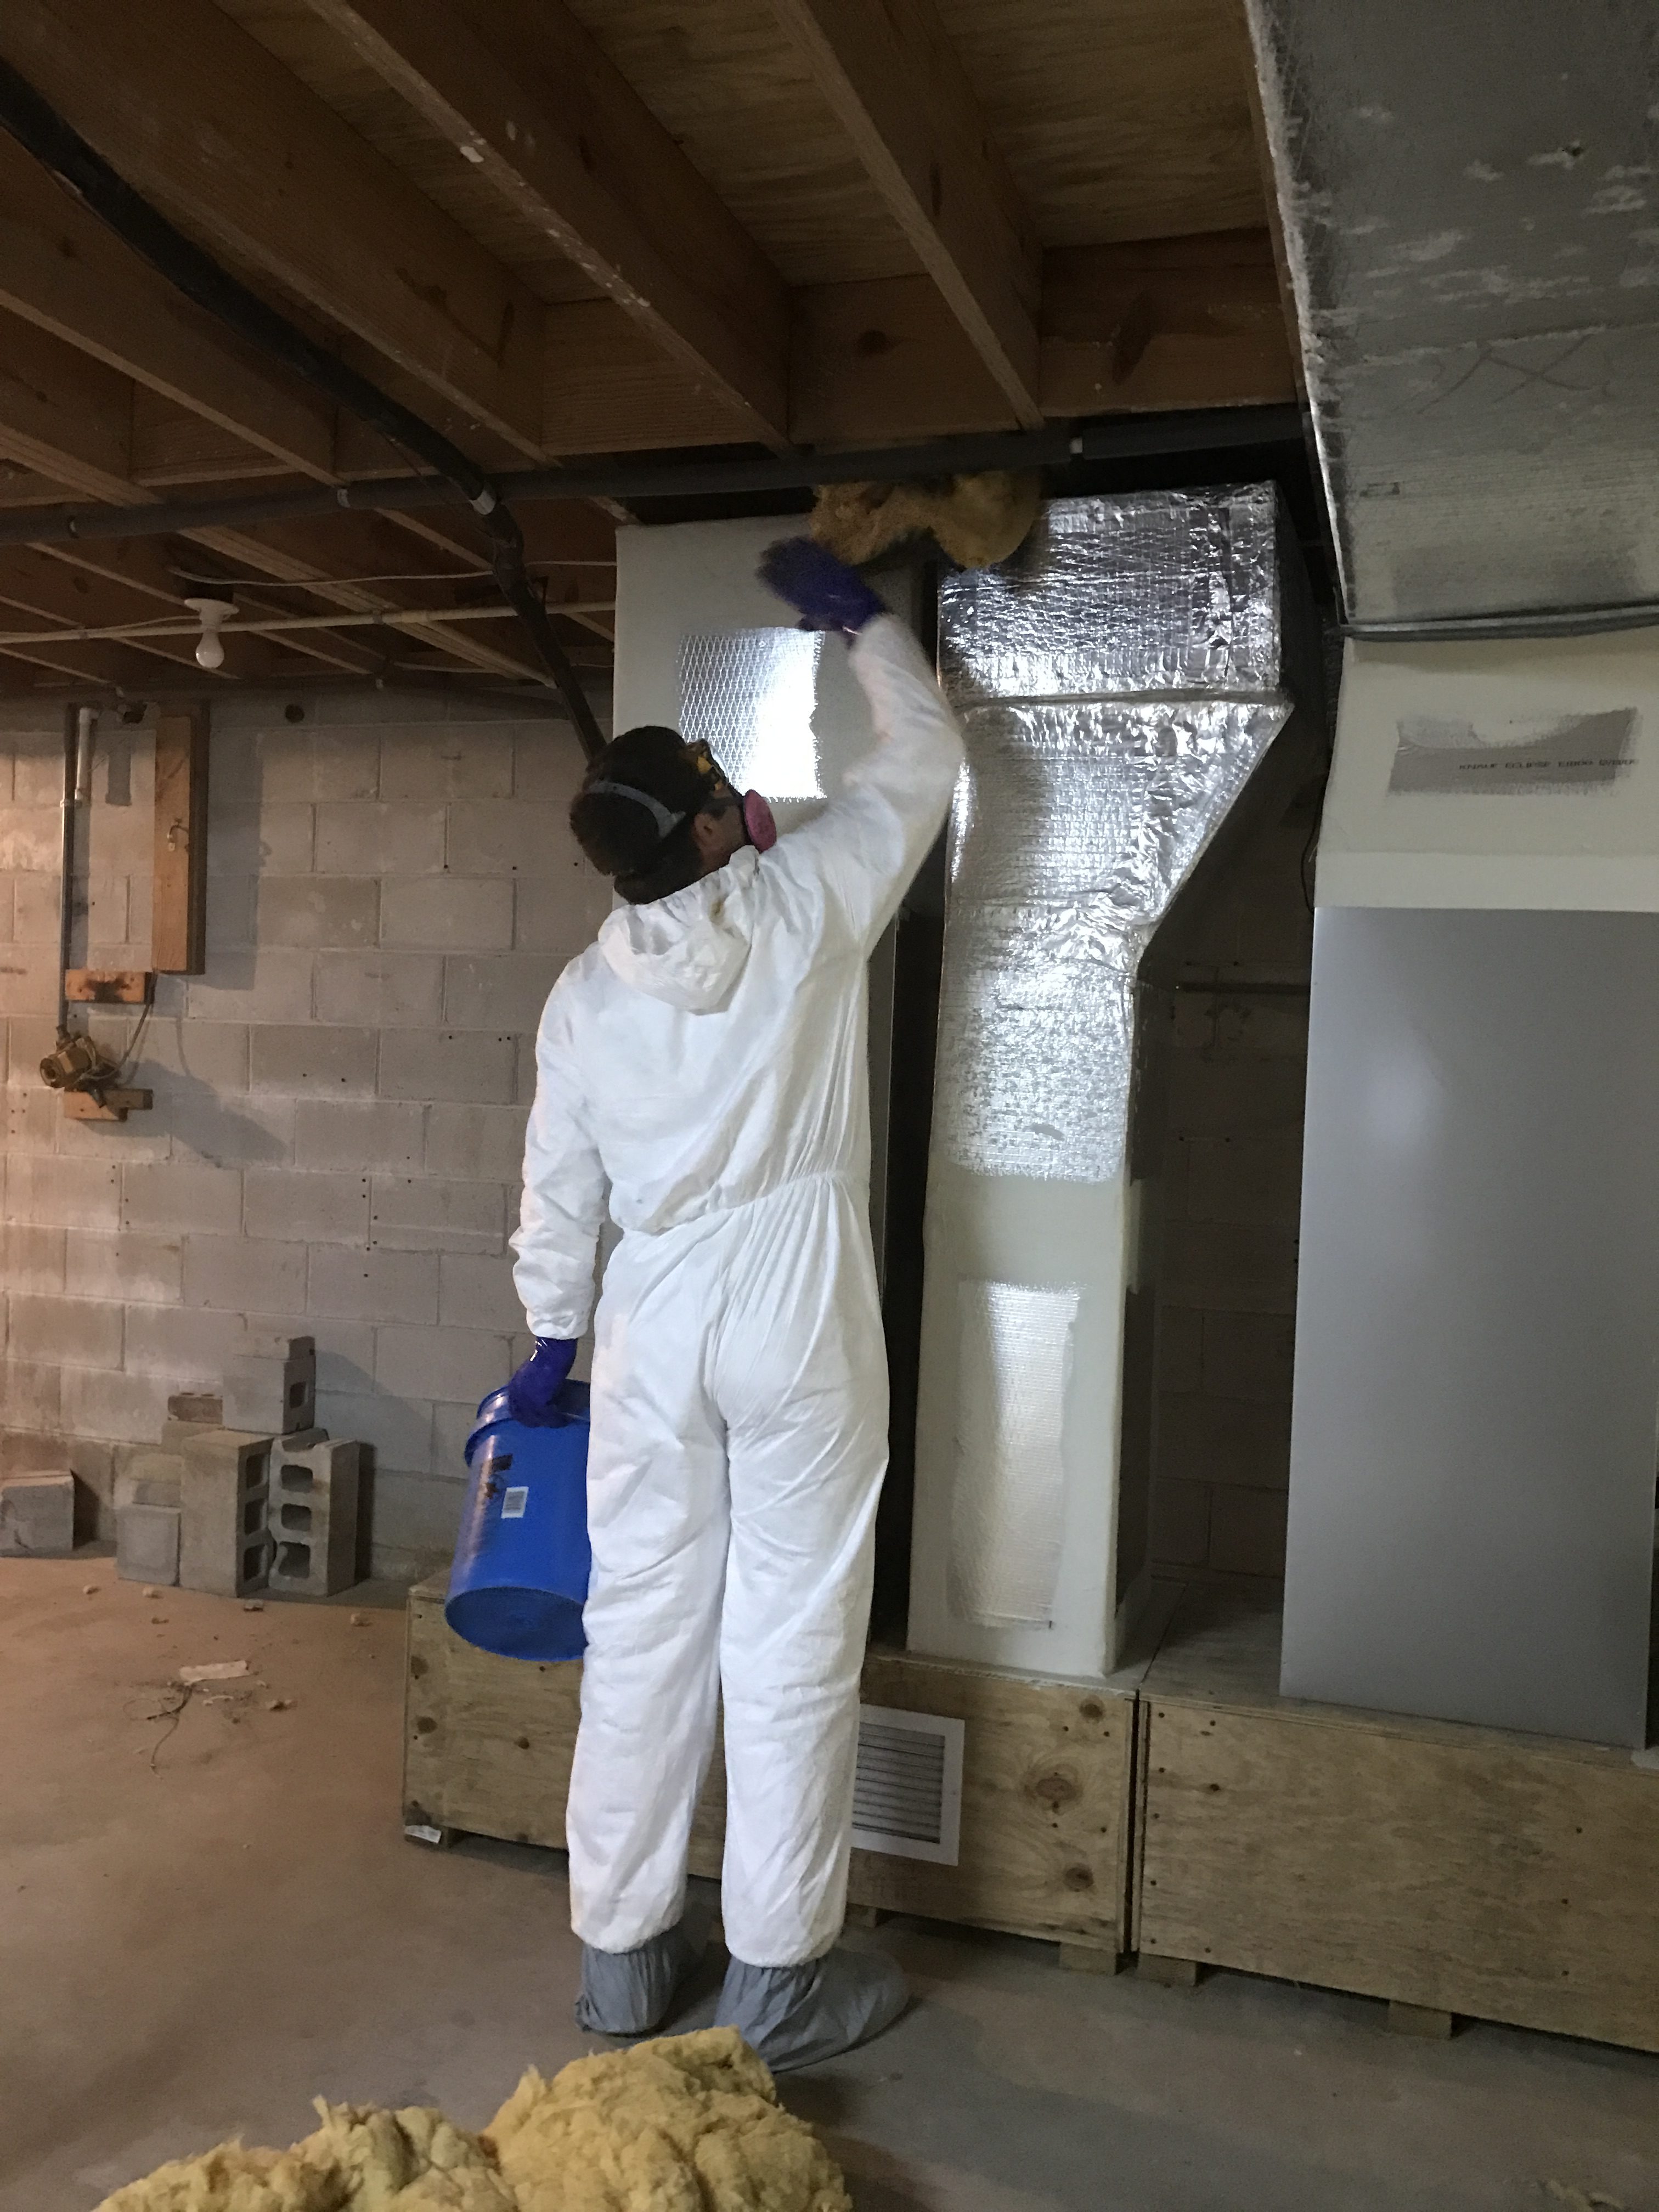
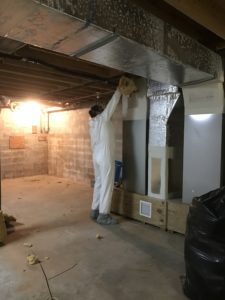
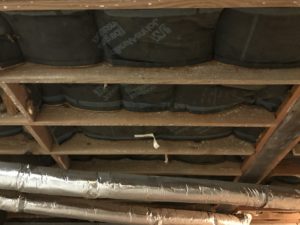
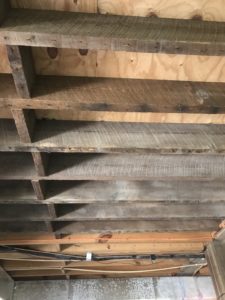
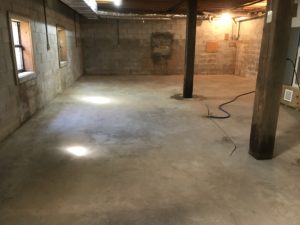
Removing the old ceiling insulation was the first step. While the HBB pulled it all down, I bagged it. We found critters galore that called the old insulation home! Just by removing the insulation, the room looked bigger and more open.
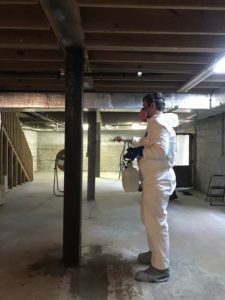
Once we had the insulation down, HBB sprayed the ceiling, walls and columns with a mixture of borax, vinegar, water and tea tree oil. We spent many hours researching mold treatments especially bleach vs vinegar. We learned that bleach won’t penetrate into the wood to assist in killing the mold spores like the vinegar.
To ensure our safety during the mold removal, we wore full respirators, goggles and tyvex suits. Below are links to the products we used during our mold busting efforts. (disclaimer: by clicking on these links, any items you purchase will result in our blog getting a small percentage at no extra cost to you!)
We allowed the mixture to settle into the surfaces for about an hour before I set to scrubbing each and every beam on that ceiling! It was a very labor intensive process, But things looked so much better when we finished!
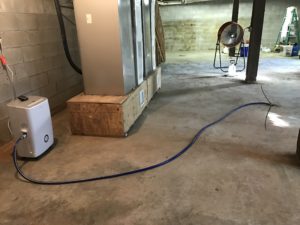
We also left a dehumidifier running in the basement to assist with moisture removal. The basement floor already had a drain in the middle that drained out into the pond in the backyard!
Mold Removal Day #2
We returned Sunday to finish our mold removal. I swept the basement and then we started on the upstairs!
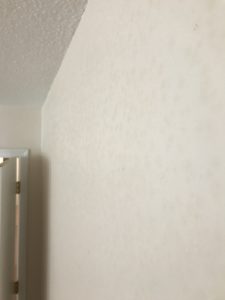
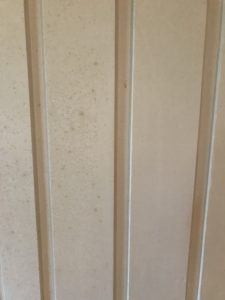
All of the bedrooms sit above the basement, and they had layer of mold on the wall surfaces. We’ve had two inspectors come out to assess our mold, and we’ve been assured that the mold was only on the surfaces. There were no active leaks in the walls of any of the upstairs rooms that would to lead to a mold issue behind the drywall.
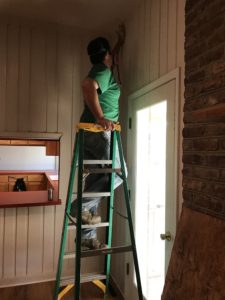
Finally, we used a mixture of vinegar and water and wiped down every moldy surface on the upstairs walls!
It was a weekend of hard work, But totally worth the effort! Painting the interior of the basement with a moisture barrier paint as well as painting all of the upstairs walls with a similar product are the next steps after closing.
Research Links:
Disclosure: We are not mold experts. This is an account of our experiences only. Seek professional help as needed!
 My name is Ali and I'm learning how to be a country girl! I'm a physical therapist, wife, lover of running and reading and I love to travel!