How to Can Dill Pickles
This is our how to can dill pickles! We are by no means experts as this was our first canning attempt. We made two types of dill pickles, one spicy and one regular flavored. I photographed our process and we think the pickles turned out pretty tasty 🙂
Step One:
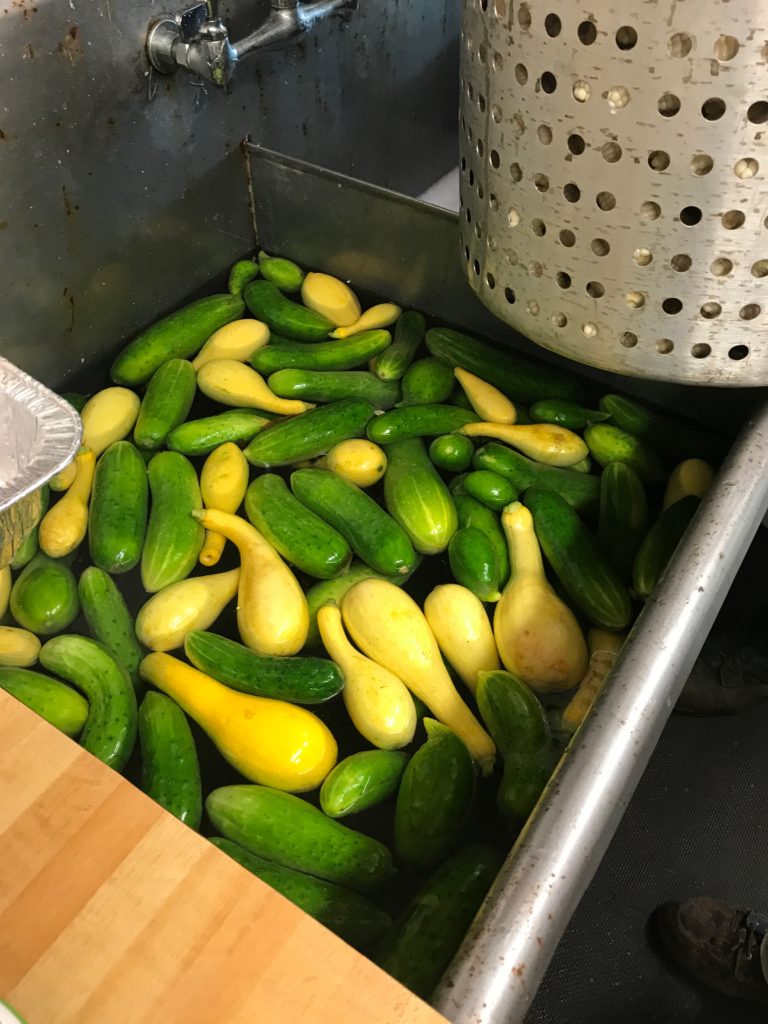
Pick your cucumbers! We already gave away so many cucumbers. We took one mornings pickings to turn into enough for 12 jars of pickles.
Step Two/Three:
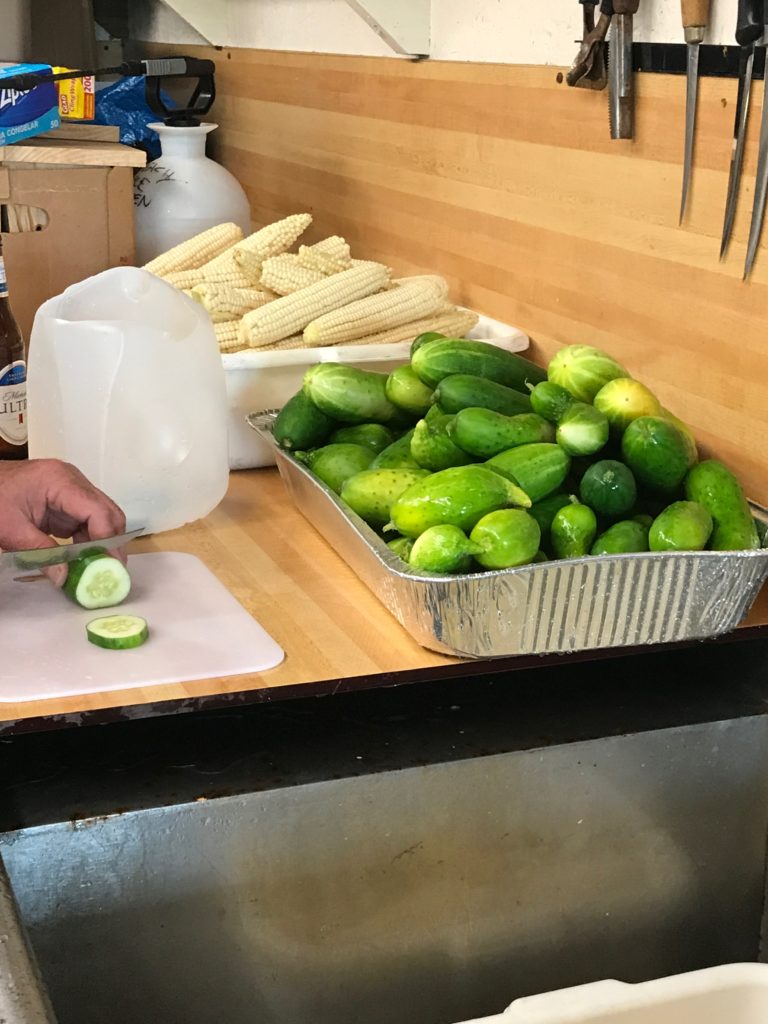
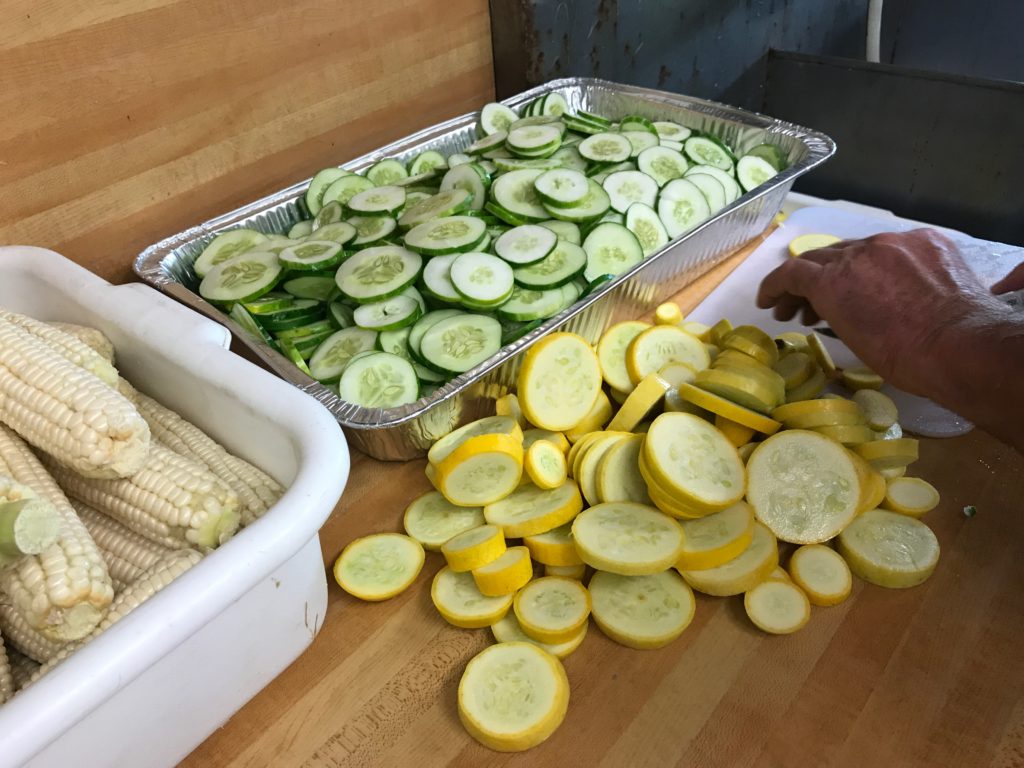
Wash and cut your cucumbers.
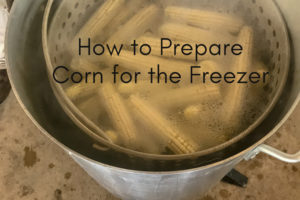
Our neighbor took the squash for his holiday bash. We did all this at the same time as preparing the freezer corn. Click here for our first attempt of putting away corn!
Step Four:
Prepare your jars. I know there are several methods to preparing the jars for canning. We washed the jars in the dishwasher. We readied all of our other supplies while the dishwasher ran so we could start the canning process while the jars were still hot. When the cycle was complete, we left the jars in the dishwasher and took them out one by one as needed. This allowed all of the jars to remain hot until time to pack them. Also, we boiled the lids in a pot as we started the process to heat and clean them.
Supplies:
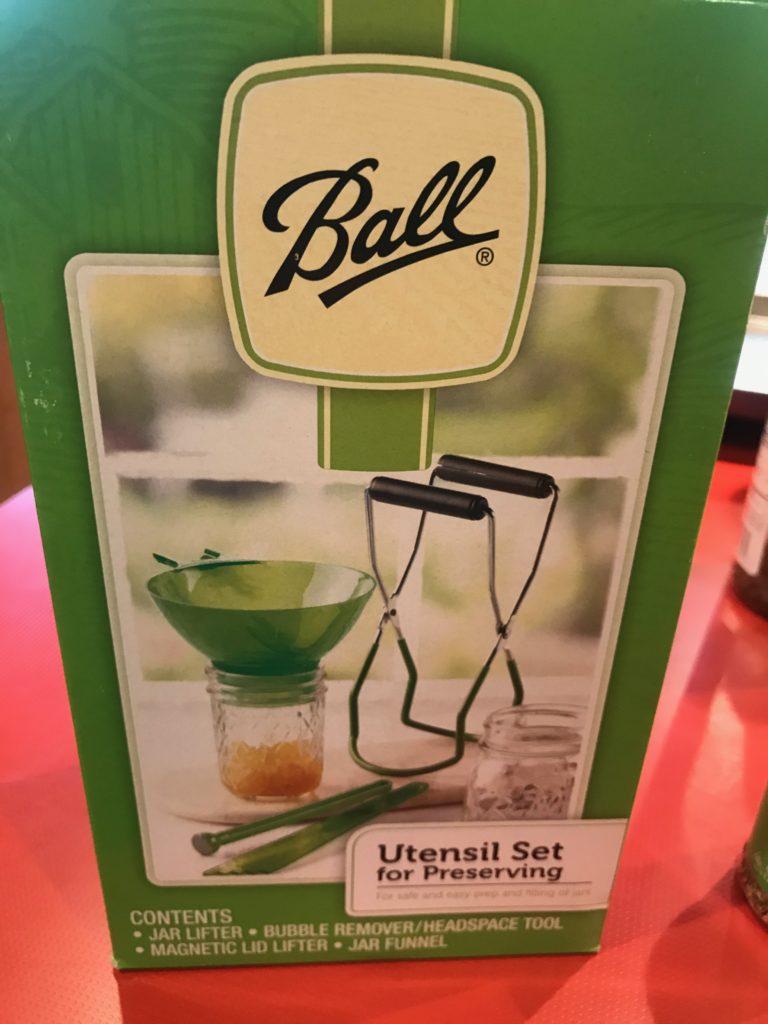
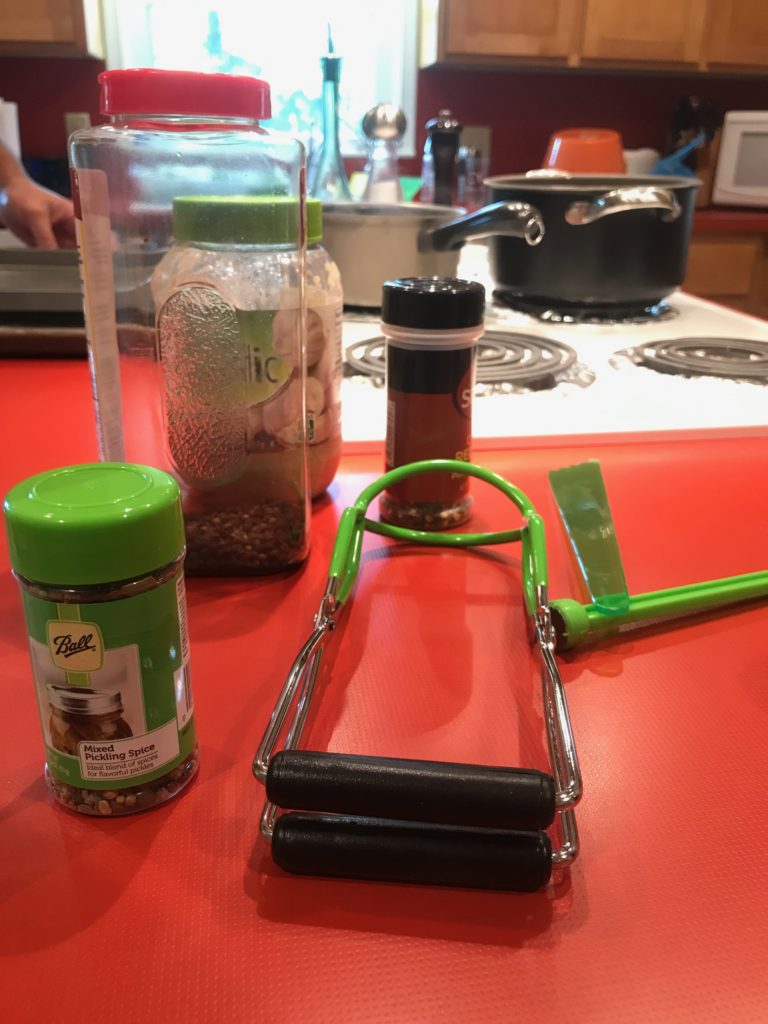
Evan bought this canning supply kit, seasoning and jars from Walmart. The supply kit came with all the implements we needed for the canning process.
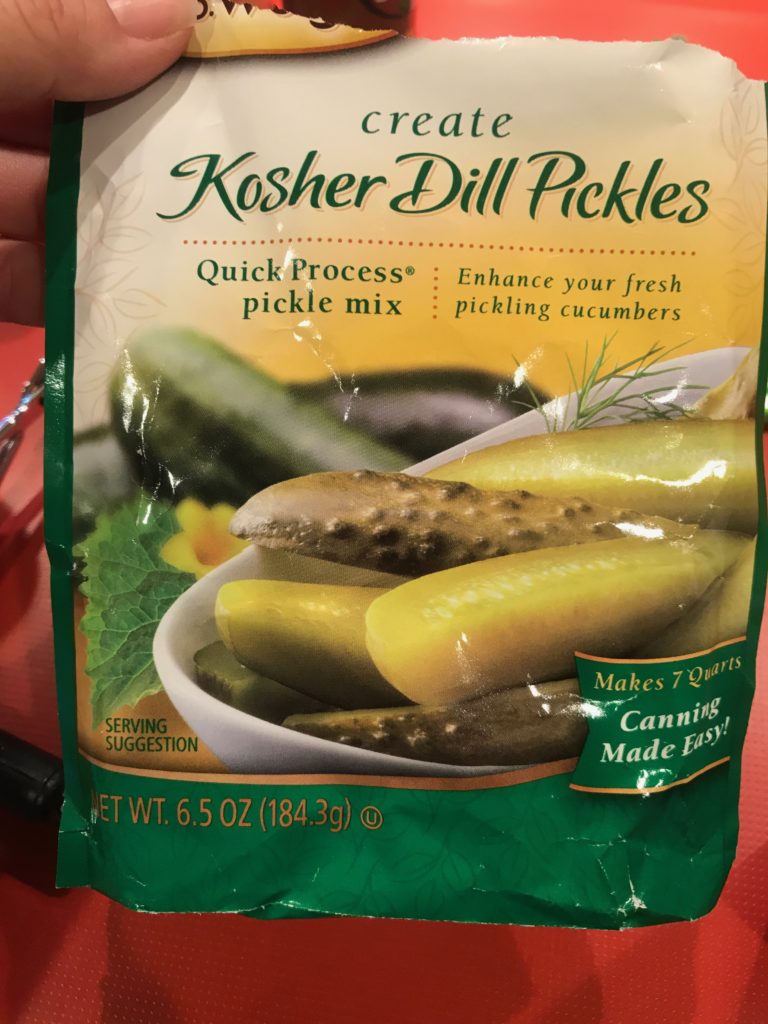
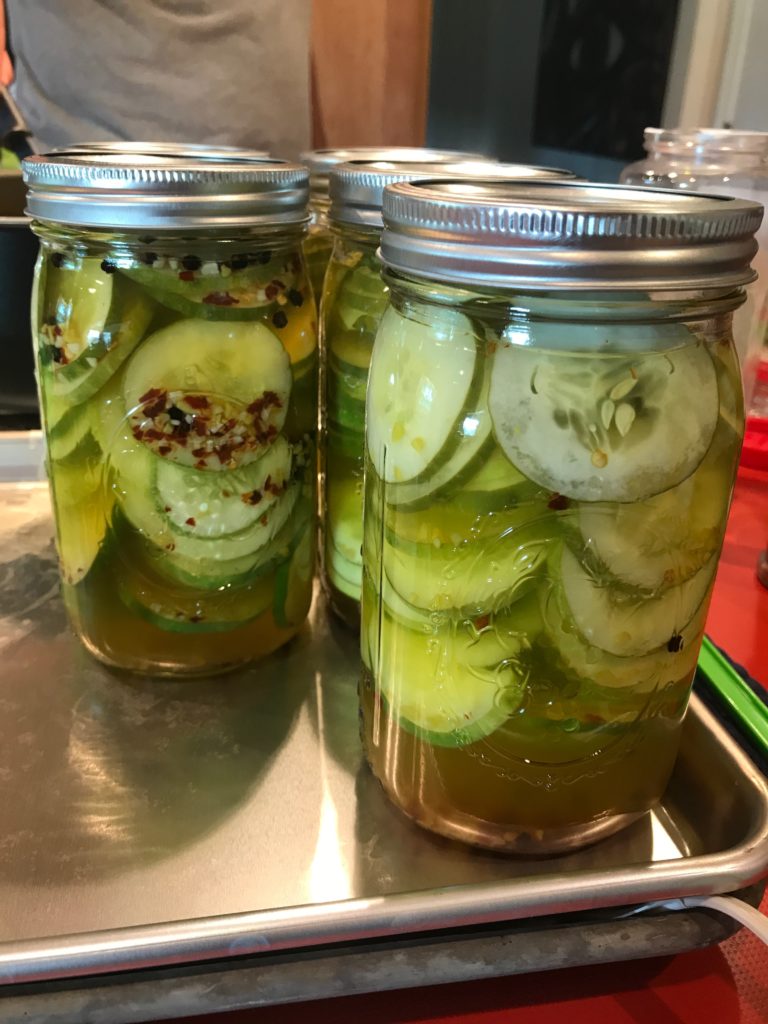
This bag came with instructions on the back which we followed to make our dill pickles. We followed the directions here for all 12 jars, but Evan also added garlic and peppercorn to 6 of the jars to add a little heat.
Step Five:
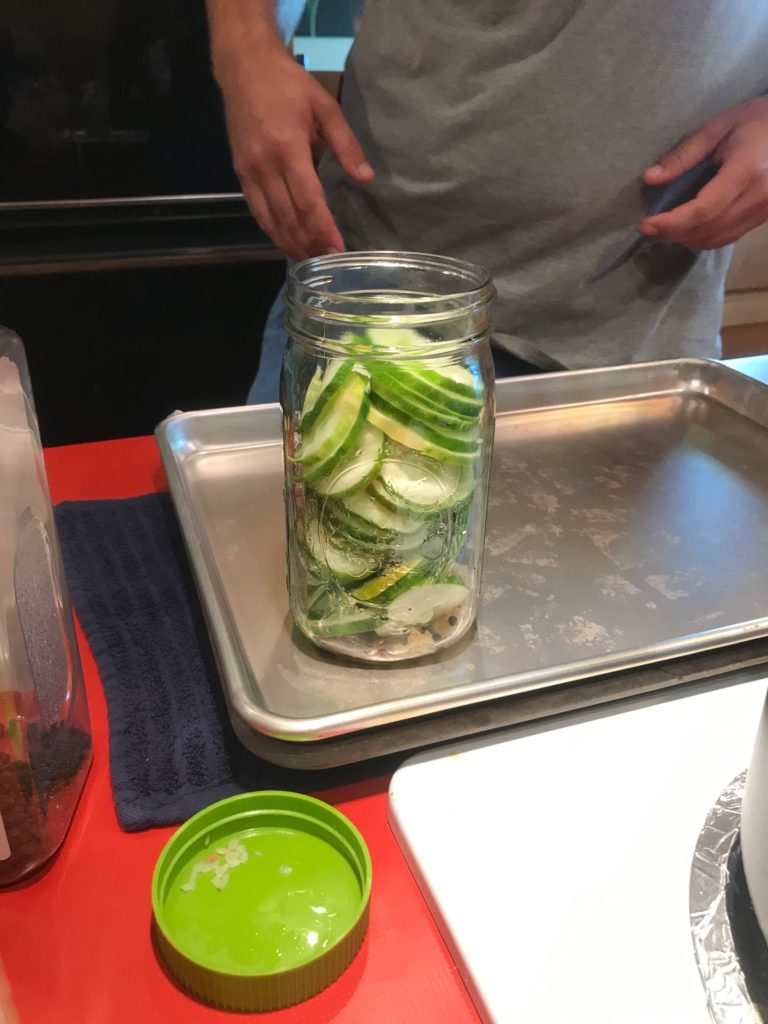
Pack in cucumbers. As I stated earlier, we took the jars out of the dishwasher one at the time so they remained hot. Evan packed the jars with the cut up cucumbers. Make sure to leave enough room in your jars for adequate head space! This allows the jars to seal properly as they cool.
Step Six:
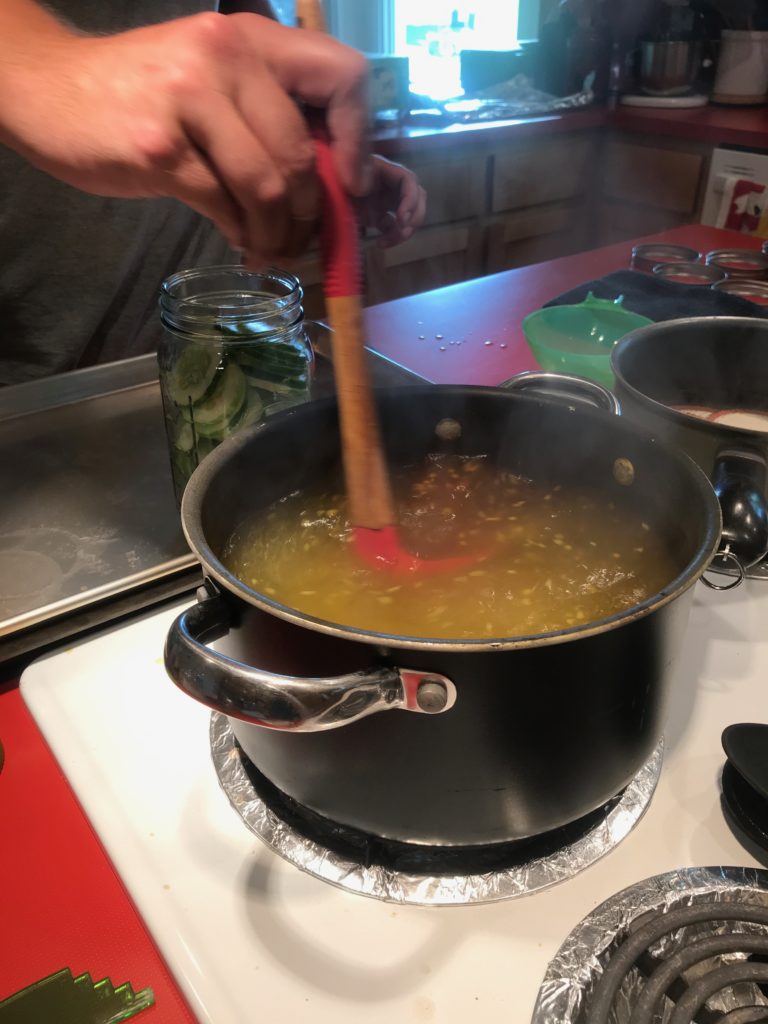
Add your liquid. We waited until our liquid mixture came to a boil before we started adding cucumbers to the jars. We followed the directions of the package for the amount of white vinegar, water and seasoning mix. The directions say to stir often!
Leaving enough headspace with the liquid is very important! The directions say at least a half inch. The canning kit also came with a little gadget to measure this. I think this is one of the places we went astray as Evan tried to pack in as much as possible. If you add too much to the jars, the lid can not seal properly as the jar cools!
Step 7 Put a Lid on It:
After filling the jars, its time to top it off with the lid. The canning pack came with a neat magnetic tool to grab the lid out of the boiling water. We added the lid, set the jar on the counter to cool and voila one can of pickles complete!!
Finished Product:
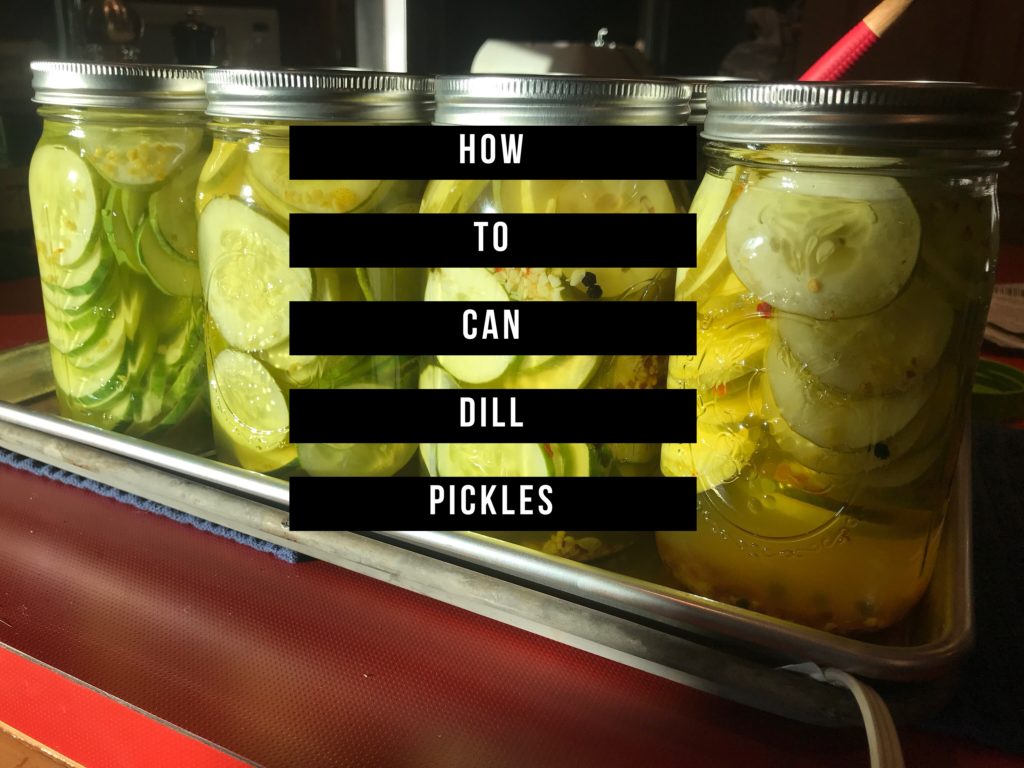
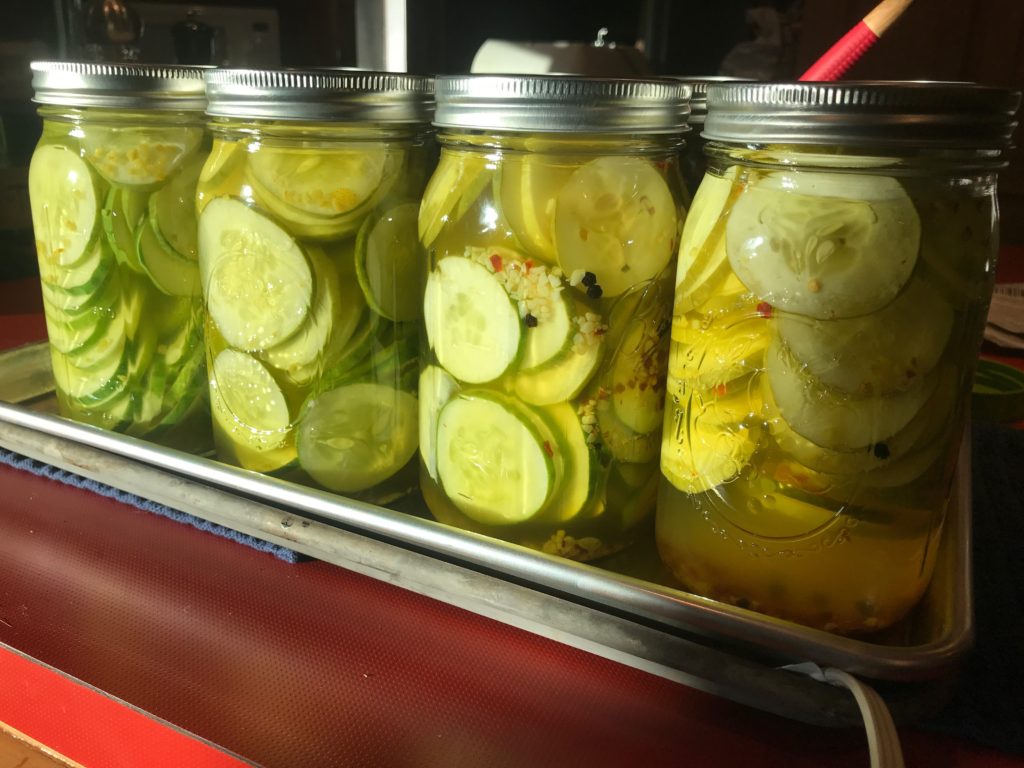
We let the pickles sit over night then added a jar to the fridge. They tasted better after they had time to sit in the vinegar bath. I think our first pickling project was a success!



 My name is Ali and I'm learning how to be a country girl! I'm a physical therapist, wife, lover of running and reading and I love to travel!